Keycloak SAML Setup
Create a new SAML configuration in Kasm
Log into the Kasm UI as an administrator.
Select Access Management -> Authentication -> SAML -> Add Configuration
The SAML 2.0 Configuration page will auto-generate the Entity ID, Single Sign On Service, Single Logout Server, and Relay State values.
Check Enable and enter a Display Name. e.g (Keycloak)
Enter the Hostname for the Workspaces deployment (e.g my.kasm.server).
Check Default.
Enter
Rolein Group Member Attribute.Enter
usernamein NameID Attribute.
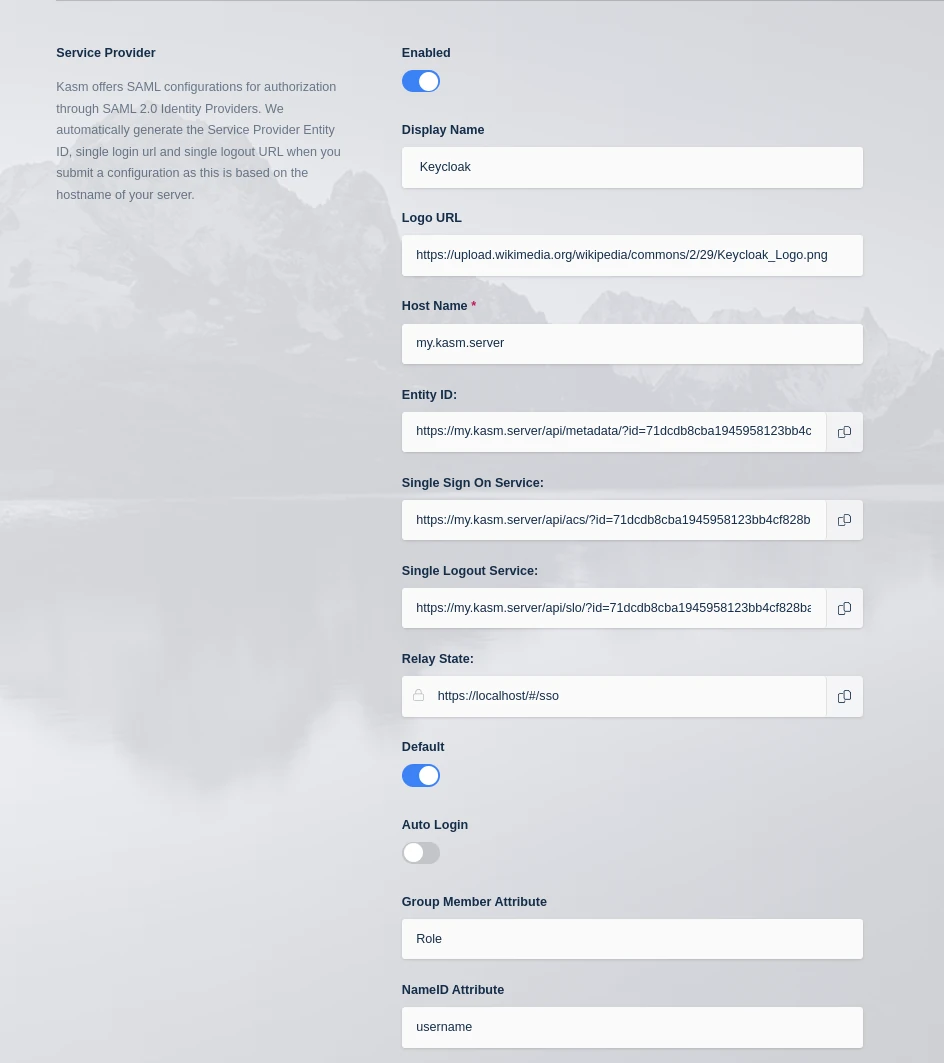
Kasm SAML Configurations
Check Debug. Disable this setting after testing is complete.
Leave this page open and continue to the next steps.
Realm SAML Settings
Navigate to the Keycloak Admin Portal. Select the desired Realm (e.g
master) then select Realm Settings.Click on SAML 2.0 Identity Provider Metadata.
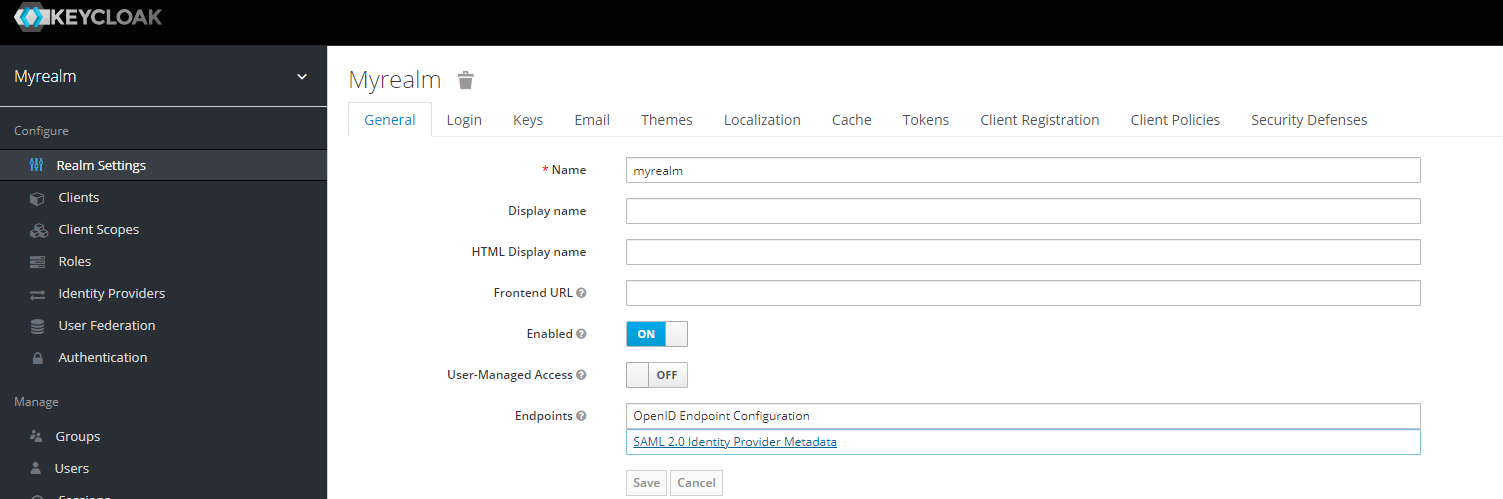
Realm Settings
Copy the following items from the XML document to the Identity Provider section of the SAML configuration in Workspaces.
Keycloak Property |
Kasm Property Name |
entityID |
Entity ID |
ds:X509Certificate |
X509 Certificate |
md:SingleLogoutService..HTTP-POST |
Single Logout Service/SLO Endpoint |
md:SingleSignOnService..HTTP-POST |
Single Sign On Service/SAML 2.0 Endpoint |
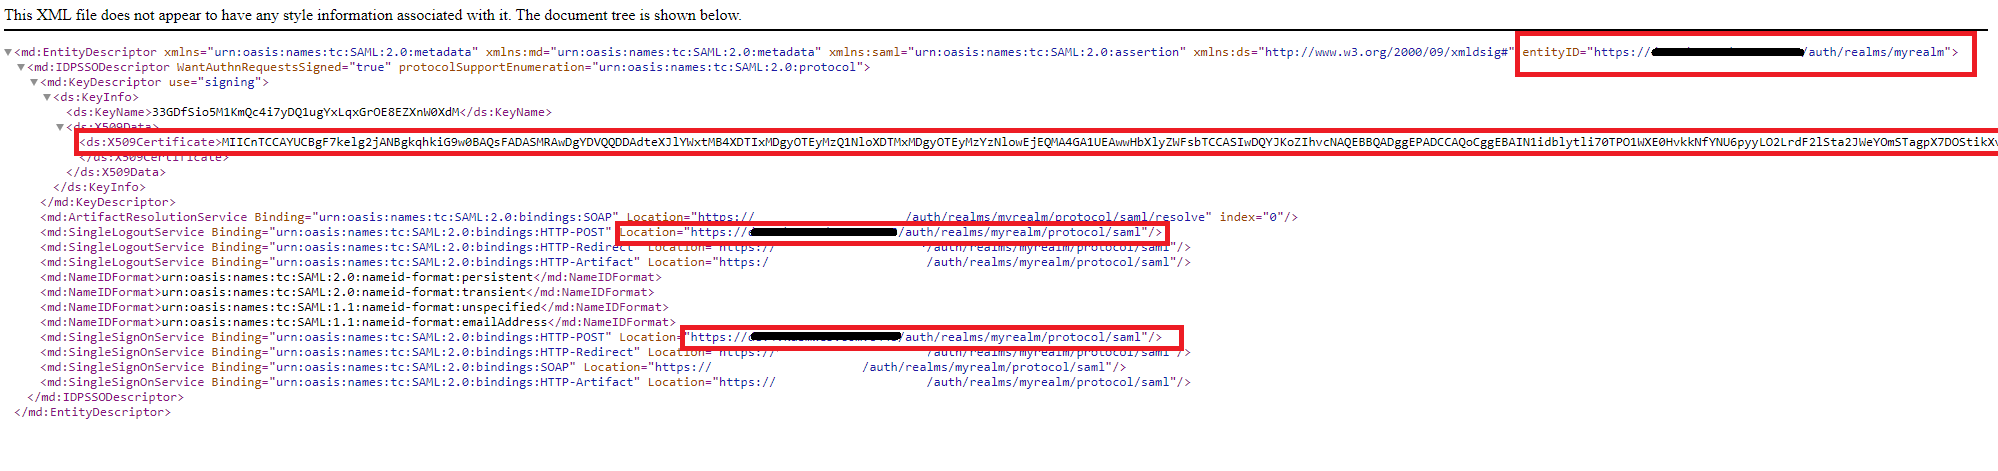
SAML XML
In the Advanced Settings of the Workspaces SAML configuration, ensure Want Attribute Statement, Want Assertions Signed, and Want Name ID are enabled.
In the Advanced Settings of the Workspaces SAML configuration, set Signature Algorithm to rsa-sha256.
Click Save.
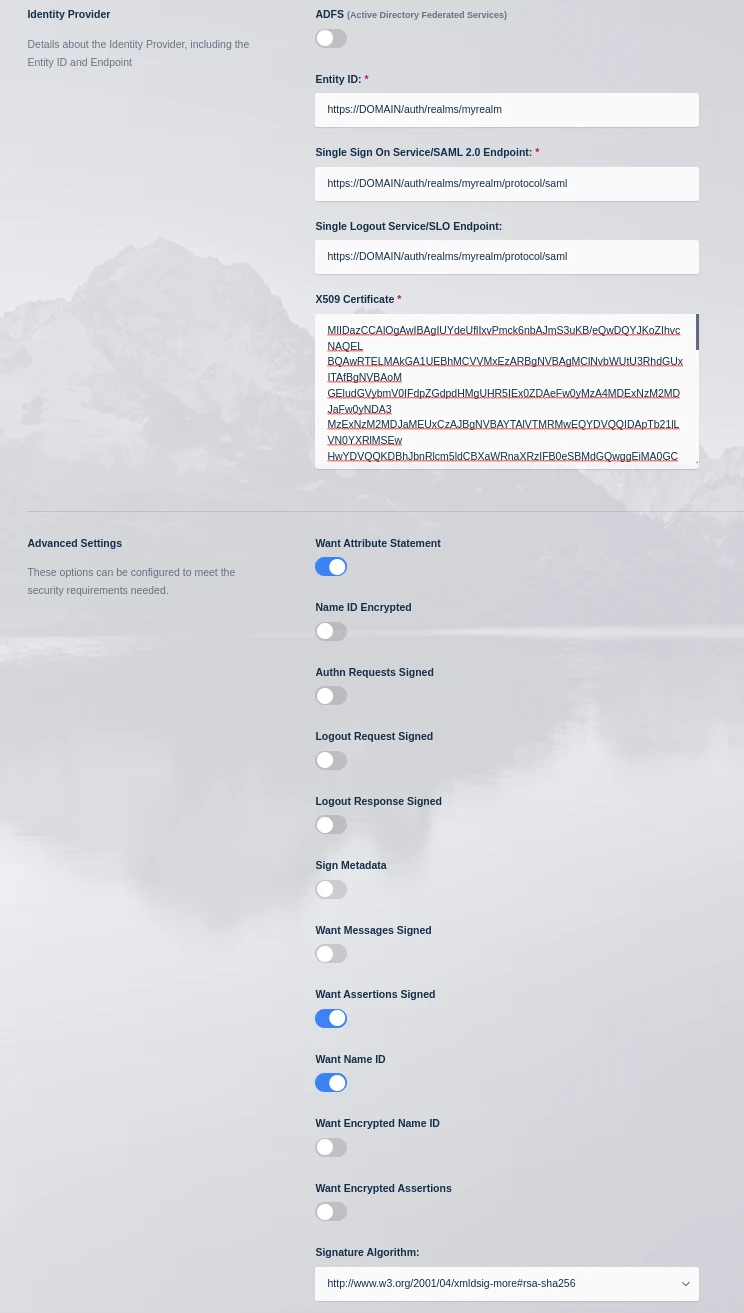
Identity Provider
Select Edit next to the new Saml config as these settings will need to be referenced in th following sections.
Add a new client in Keycloak
Navigate to the Keycloak Admin Portal. Select the desired Realm (e.g
master) then select Clients.
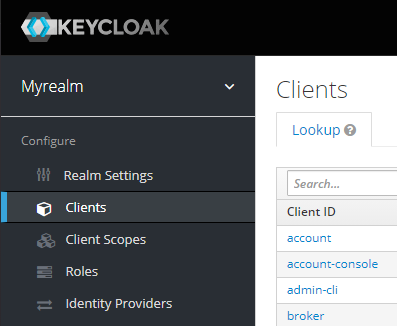
Keycloak Portal
In the Clients window select Create Client.
In the Client type select SAML
In the Client ID enter a short name (e.g
kasm) - Note: we will modify this in the next section to work around a keycloak bug.Enter a value for the Name field (e.g Kasm Workspaces).
Select Next.
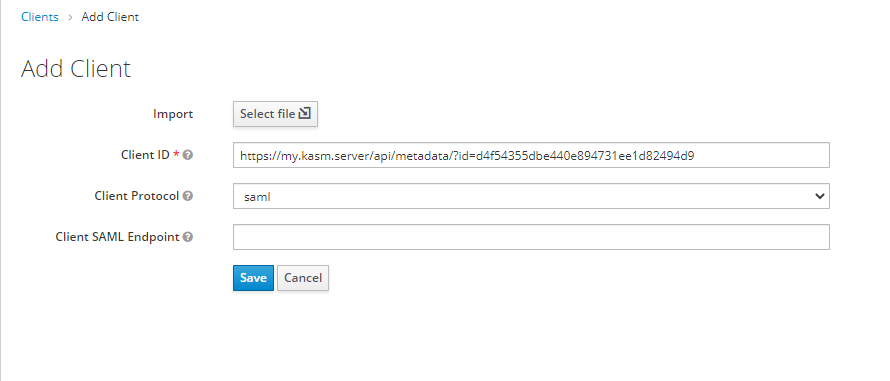
Add Client
Update the Home URL with the URL of the Workspaces deployment (e.g
https://my.kasm.server).Update Valid Redirect URLs with a wildcard entry for the Workspaces deployment (e.g
https://my.kasm.server/*Select Save.
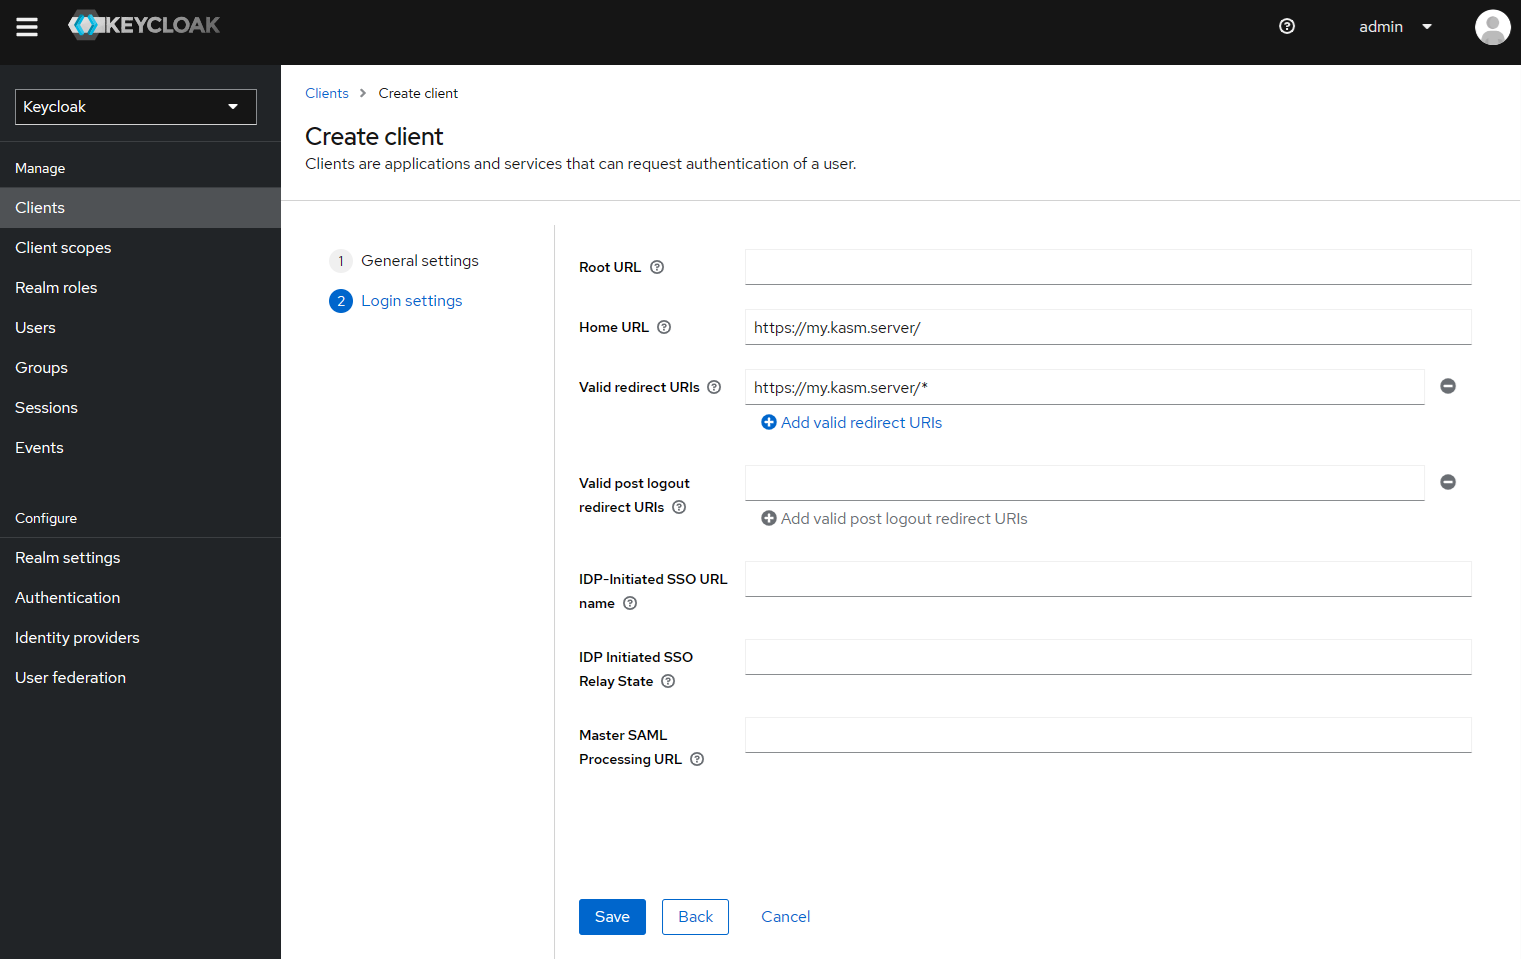
Add Client
Client Configurations
Update the client details configuration
In the Client Details page, select the Settings tab.
In the Client ID field, enter the value found in the Entity ID from the Service Provider sections in the Workspaces SAML configuration form.
In the Master SAML Processing URL enter the value found in the Single Sign On Service from the Service Provider sections in the Workspaces SAML configuration form.
Ensure Name ID format is
username.Ensure Force name ID format is set to On.
Ensure Sign Assertions is set to On.
Click Save
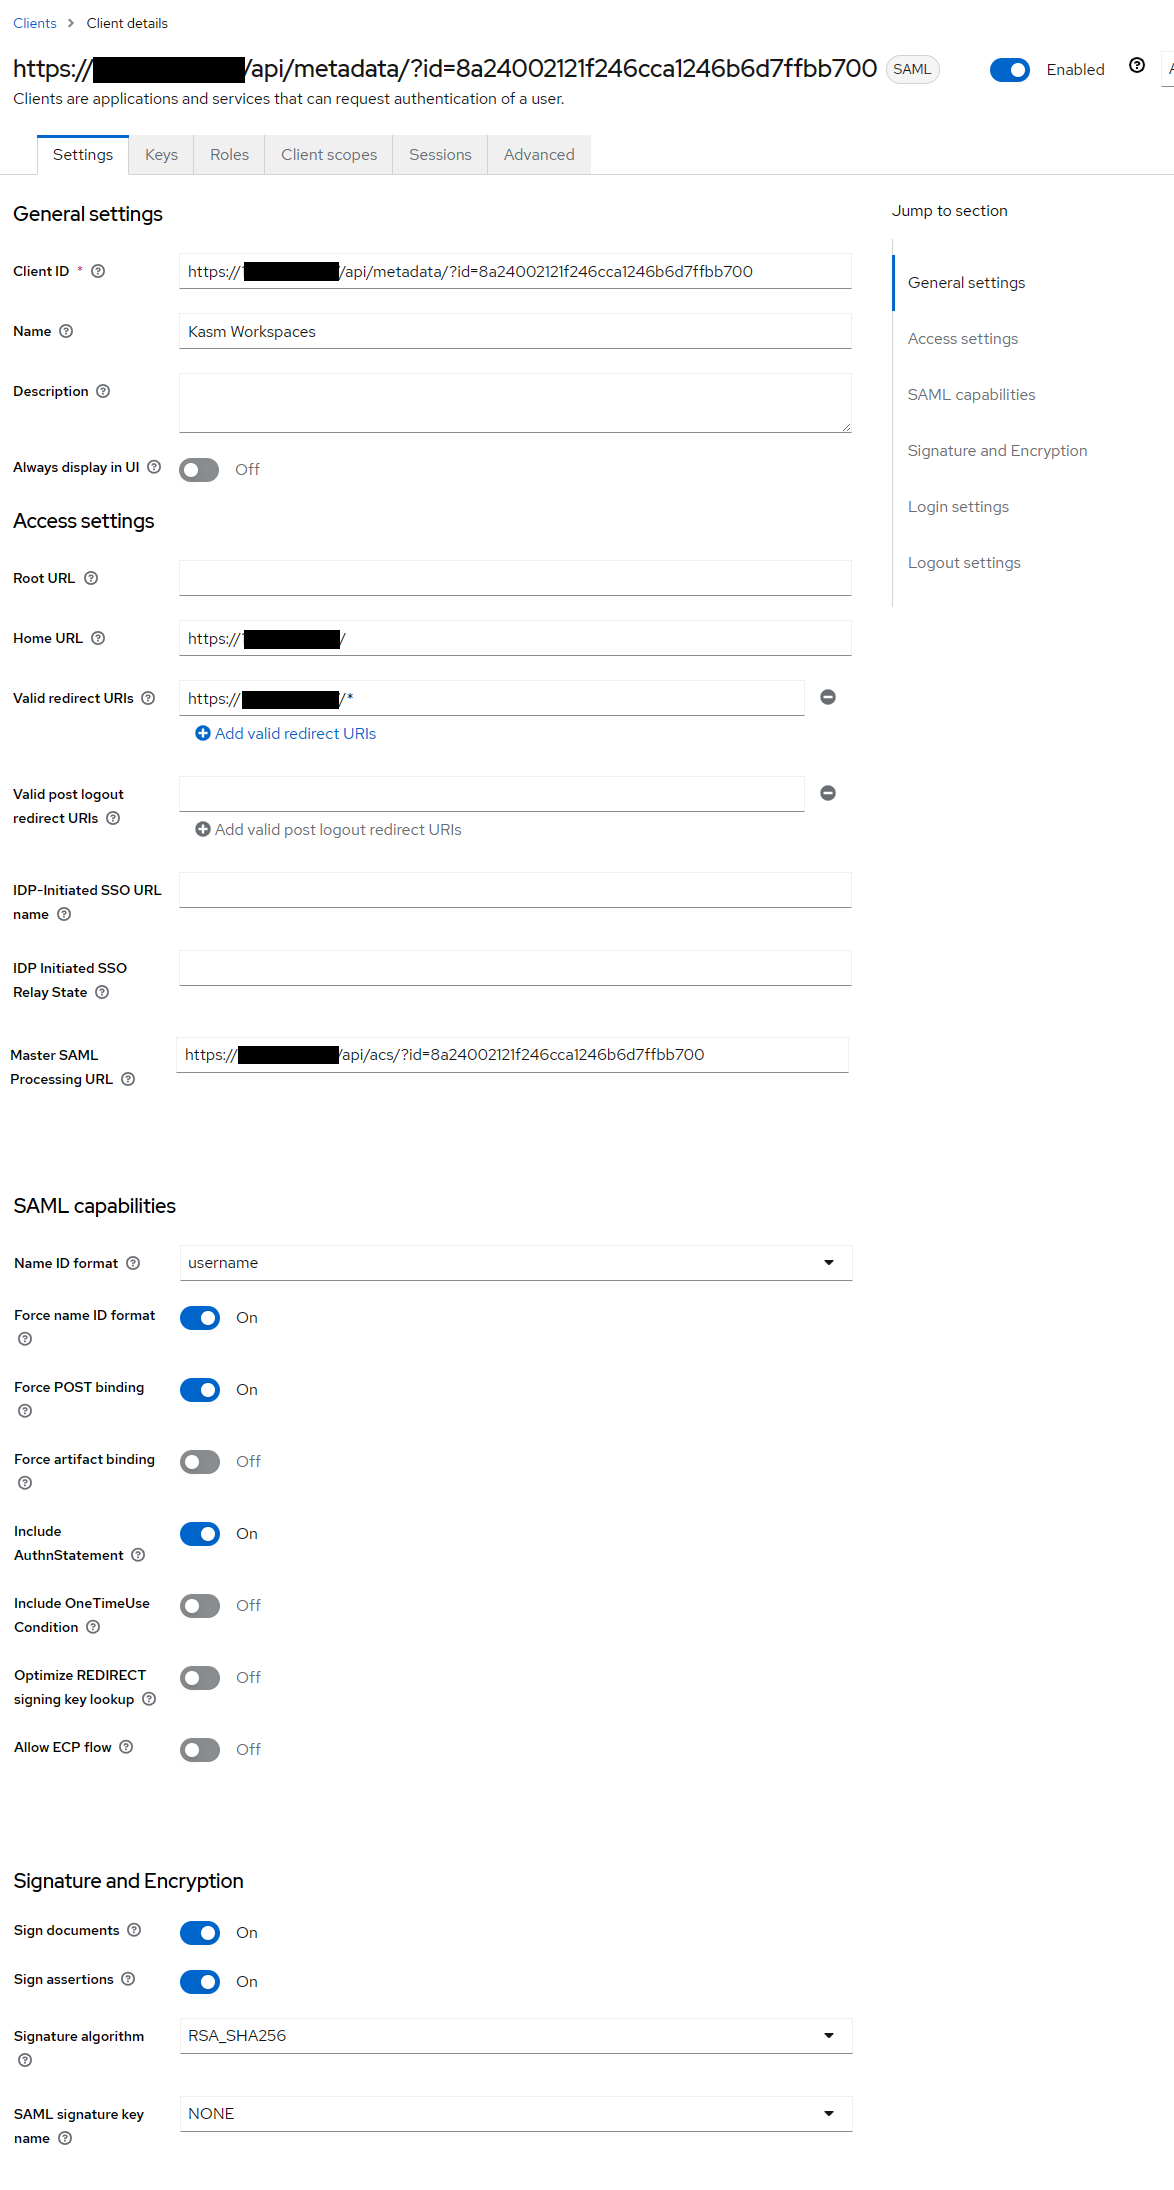
Client Settings
Select the Keys tab.
Set Client signature required to Off
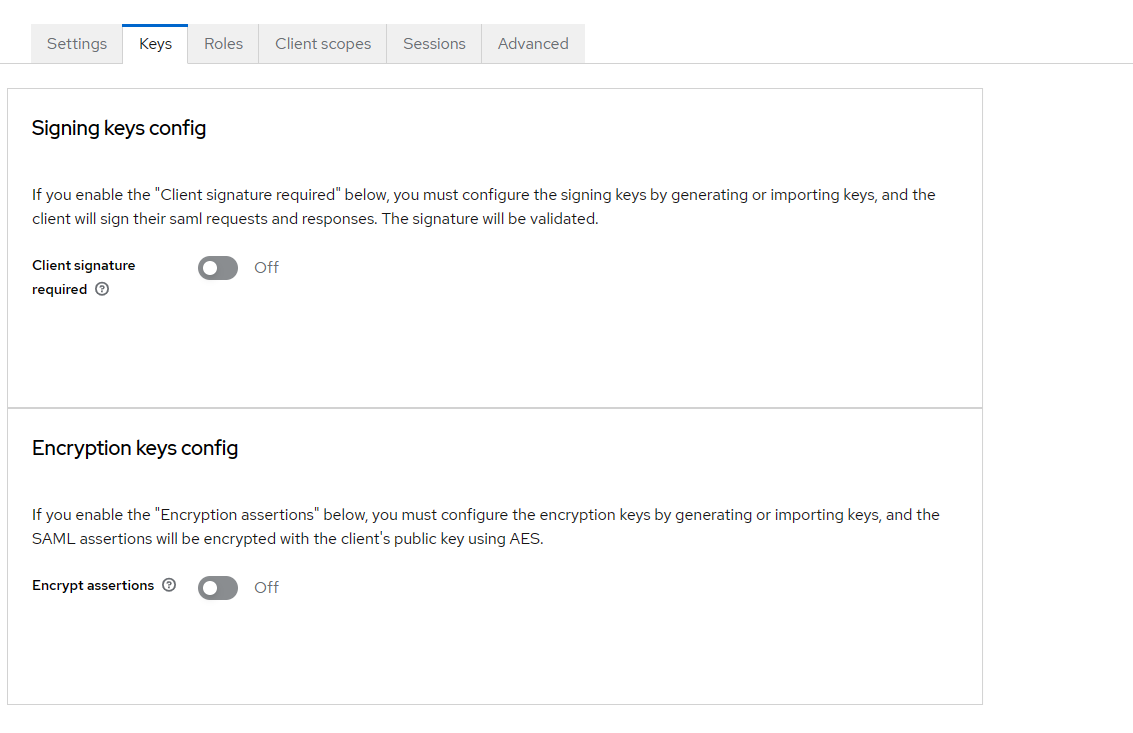
Keys
Select the Advanced Tab.
In the Logout Service POST Binding URL enter the value found in the Single Logout Service from the Service Provider sections in the Workspaces SAML configuration form.
Click Save
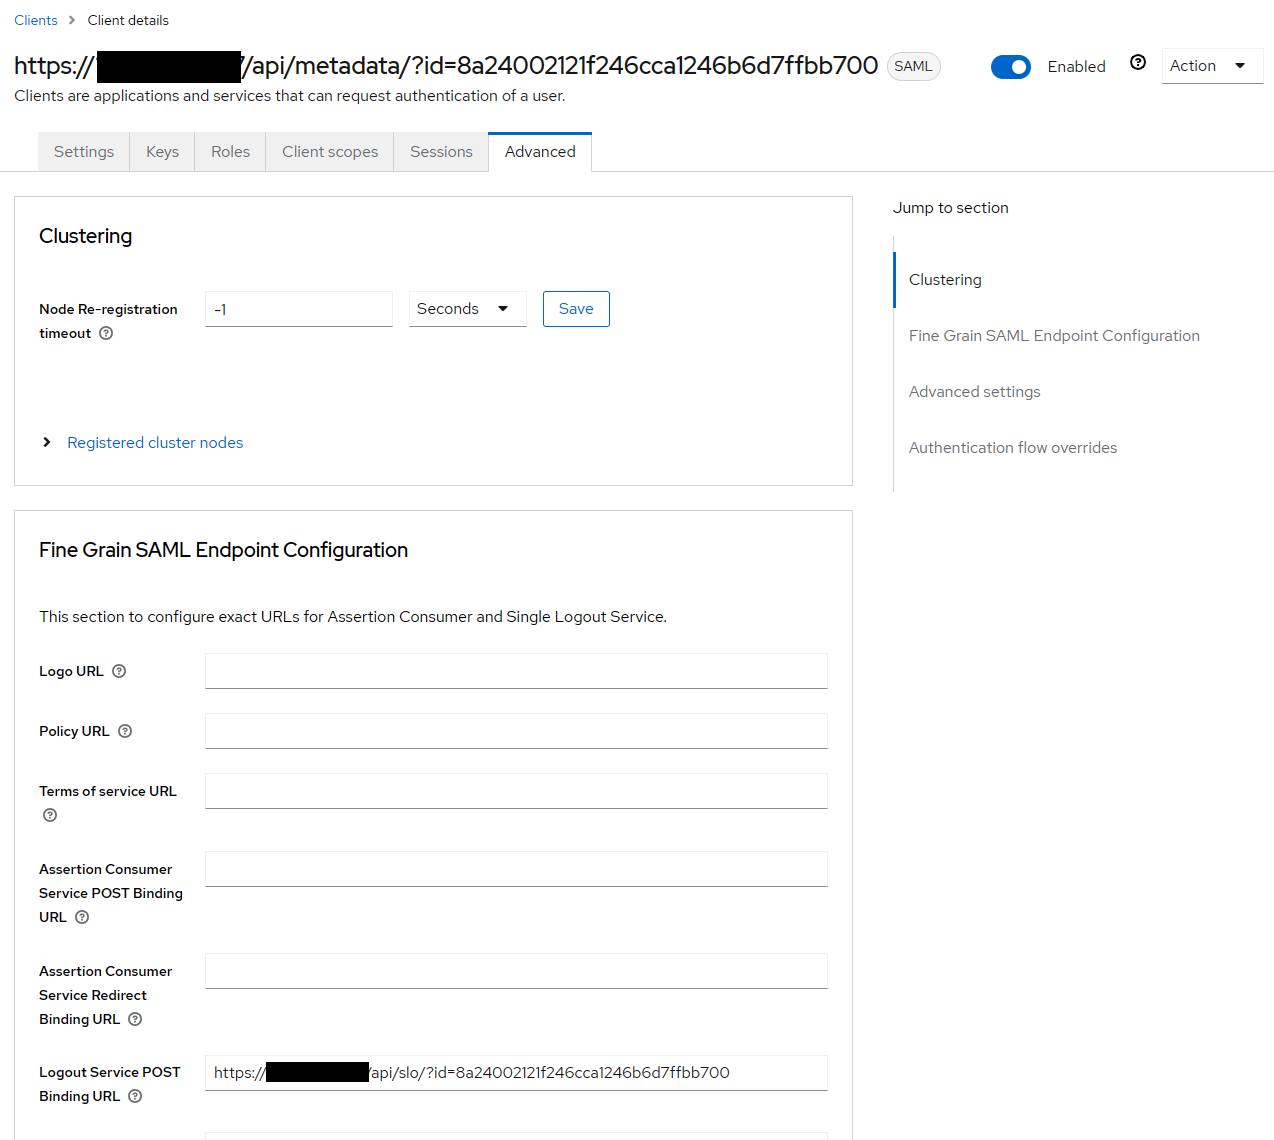
Advanced
Adjust Single Role Attribute in Keycloak
Navigate to the Keycloak Admin Portal. Select the desired Realm (e.g
master) then select Client Scopes.
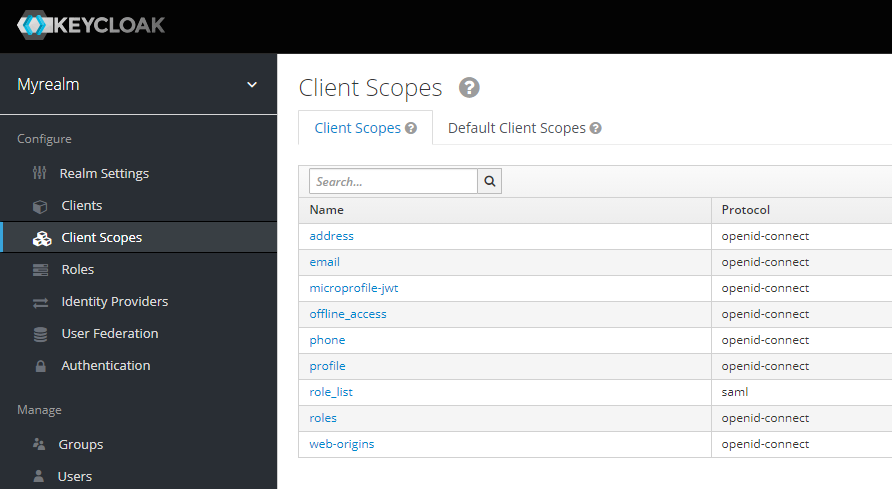
Keycloak Portal
Select role_list (saml).
Select the Mappers tab.
Select role list.
Set Single Role Attribute to On, then click Save.
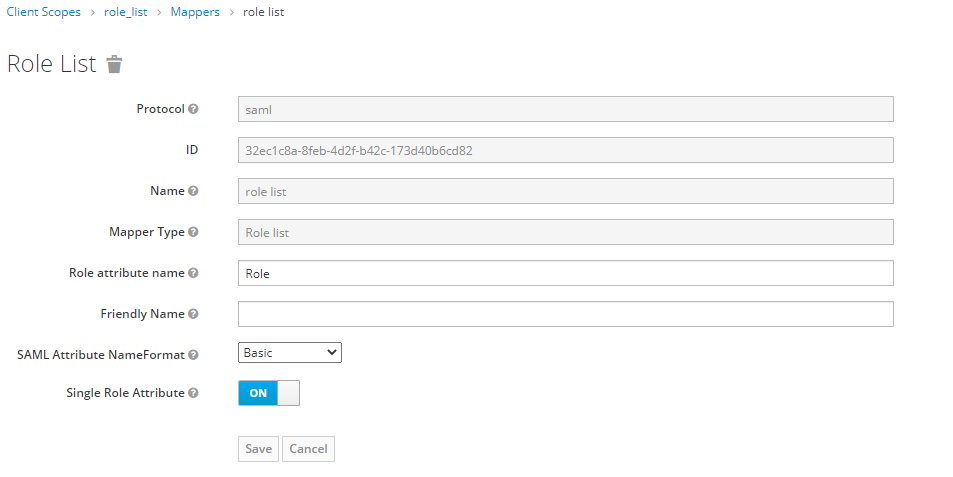
Role List
Testing Access
Log out of the Kasm UI if already logged in.
Navigate to the Kasm UI login page.
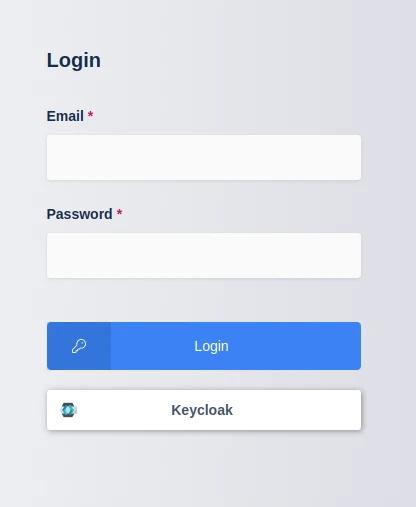
Kasm Login
Click Keycloak to initiate the SAML SSO process.
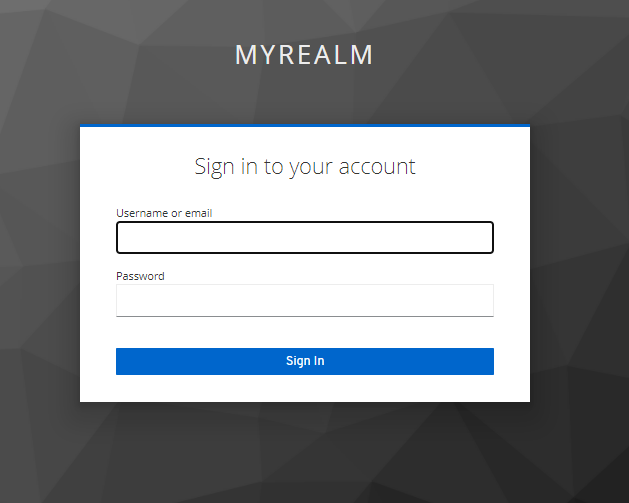
Keycloak Login
Mapping Roles
During the SAML authentication process , Keycloak will send a list of the user’s roles. These can be mapped to Kasm Groups.
Navigate to the Keycloak Admin Portal. Select the desired Realm (e.g
master) then select Realm Roles.
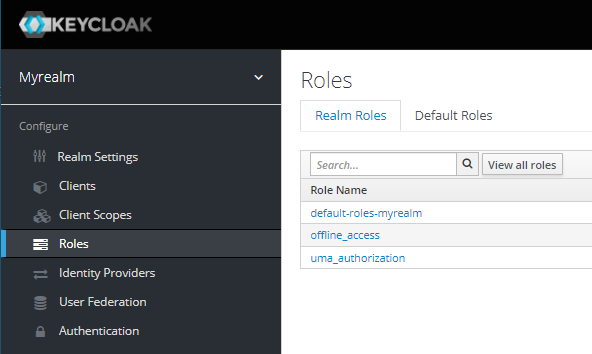
Keycloak Portal
Select Create Role.
Name the role kasm_admins then click Save.
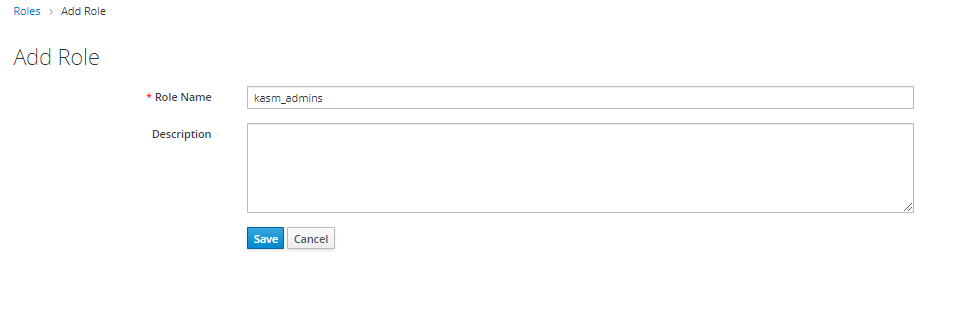
Create Role
Select Users from the Keycloak menu, then click the username for the desired user.
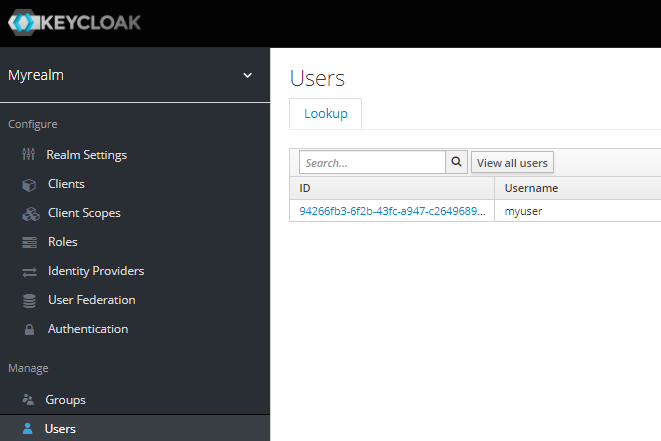
User Selection
Select the Role Mappings tab, then select Assign role
Select kasm_admins from the Available Roles then click Assign.
Log into the Kasm UI as an administrator.
Select Access Management -> Groups, then click Add Group.
Name the Group Keycloak Kasm Admins and give it a priority (e.g 10).
Save the new group by clicking Save.
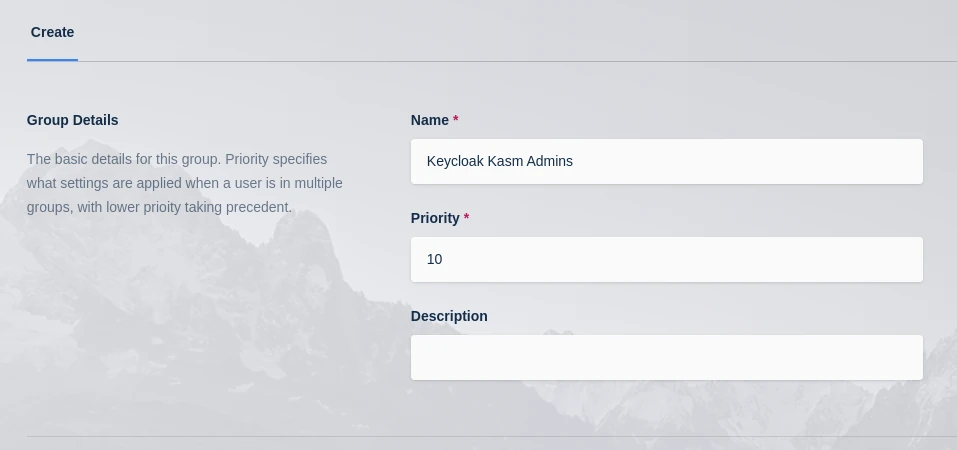
Create Group
On the Groups screen, using the arrow menu select Edit on the group that was just created.
Navigate to the SSO Group Mappings tab and select Add SSO Mapping.
Select the SAML IDP that was created above “SAML - Keycloak” for the SSO Provider.
Enter kasm_admins as the Group Attributes then click Submit.
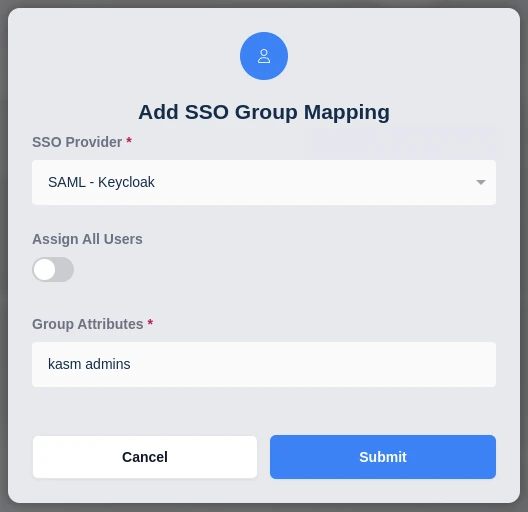
Add SSO Group Mapping
Log out of Kasm, and back in via SAML as the previously assigned user. The user should now be mapped to the Keycloak Kasm Admins a group.