Users
Users must first be added to the server and then added to a group to manage their permissions. User permissions can be set by updating the group settings found here..
By default Anonymous users are hidden, if you wish to see them, click on the dropdown next to Add User and pick between, Hide Anonymous, Show Anonymous and Only Anonymous.
Create User
Select Access Management > Users from the navigation menu.
Select Add User from the top right of the Users table.
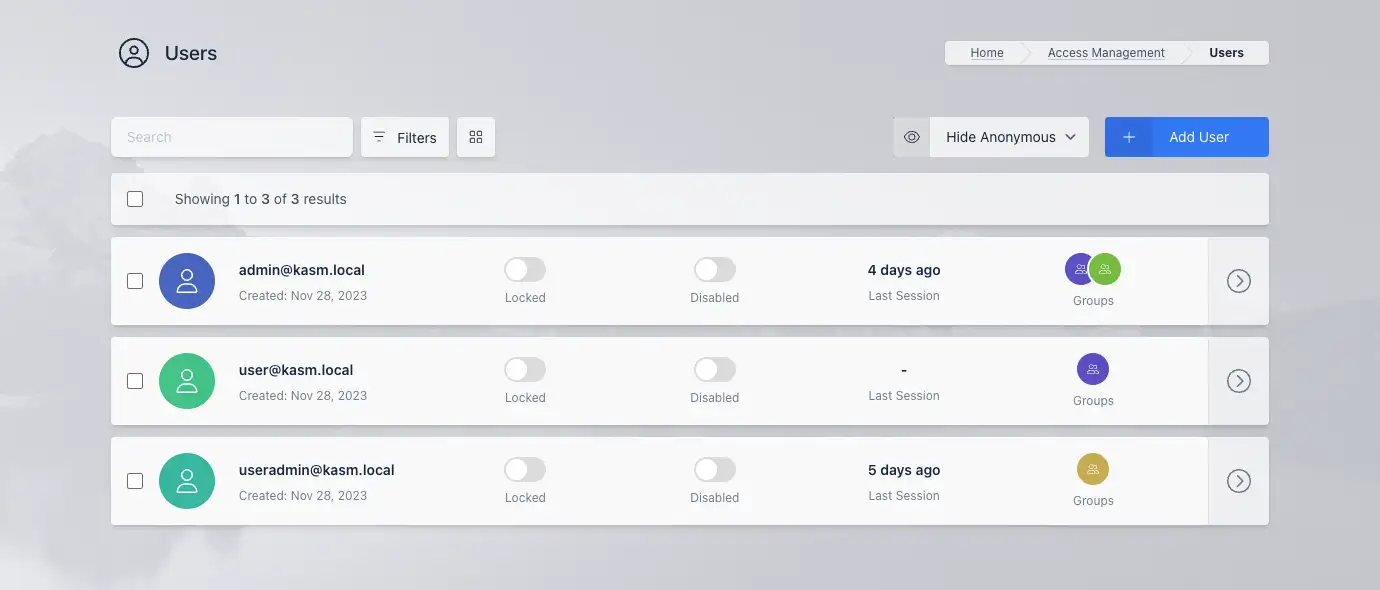
Creating a new user
Fill out Users information with User properties below.
User Properties
User Name |
Username for login |
Password |
Password for login |
First Name |
User’s first name |
Last Name |
User’s last name |
Realm |
SSO that the user belongs too (local, LDAP, SAML, OIDC) |
Notes |
Notes about user |
Locked |
Lock account |
Disabled |
The account is disabled. The user cannot login or authenticate until re-enabled by an administrator. |
Reset Two Factor Authentication Secret |
Reset the 2FA secret. The users will be required to re-initialize the 2FA upon next login. |
Force Password Reset on Login |
Force the user to change their password on the next login. This setting applies only to local accounts. |
Organization |
Organization Name |
Last Session |
Last login time |
Phone |
Phone number |
City |
City |
State |
State |
Country |
Country |
Email address |
|
Custom Attribute 1 |
Attribute to be used for custom purposes. |
Custom Attribute 2 |
Attribute to be used for custom purposes. |
Custom Attribute 3 |
Attribute to be used for custom purposes. |
Encryption Key |
An encryption key optionally used in Storage Mappings to encypt and obfuscate files at rest. A key is automatically generated for each user but can be replaced if desired. See Custom Storage Provider Setup |
Encryption Salt |
An encryption salt optionally used in Storage Mappings to encypt and obfuscate files at rest. A key is automatically generated for each user but can be replaced if desired. See Custom Storage Provider Setup |
Add User to Group
Select Access Management > Groups from navigational menu.
Select Edit from the arrow menu of the group you want to add the user.
Select the Users Tab.
Select Add User from Users in Groups table.
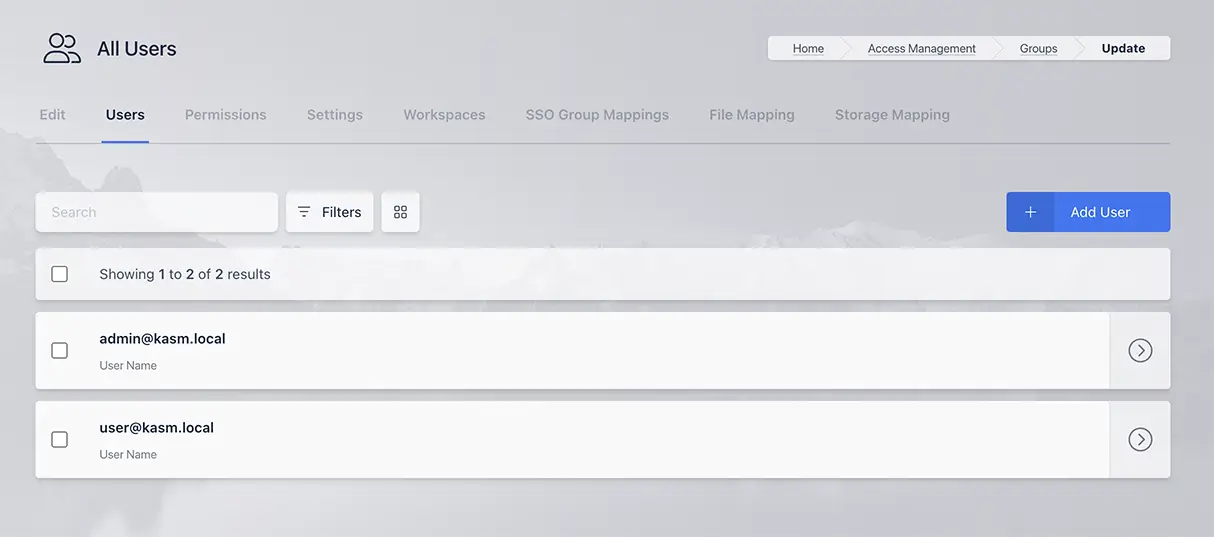
Users in Group
Select the user you wish to add from dropdown menu and click Submit.
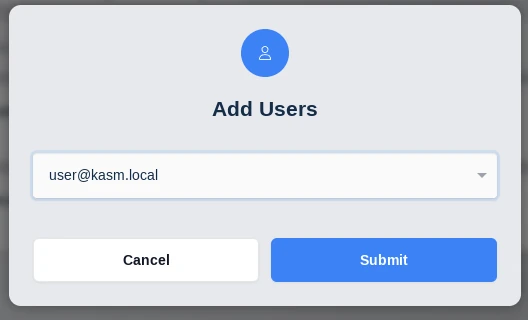
Adding a user to a group
User Settings
Users have the ability to change settings by visiting their profile.
Auto Launch Session.
Automatically launch a session when the user logs in. Kasm Workspaces will use the configured Default Workspace Image.
Chat Sound Effects.
Enable Sound effects for chats during shared sessions.
Default Workspace Image.
The Default Kasm Image to use. This is the Image that is used for the /go URL, clicking the Launch Now menu item, and for Auto Launch Session. This item overrides the corresponding group setting if defined.
Show Tips During Session.
By default the user is shown a Tip that describes how to find and use the control panel. This tip can be suppressed by setting this item to false.
Toggle Control Panel.
Open and close the control panel within a Kasm session by pressing the Ctrl key twice.
Theme.
Select the Kasm Workspaces app theme, there is also an auto setting that will use the OS setting of the user’s local computer.
User Settings
User Permissions
The users permissions tab gives a breakdown of the resultant permissions a user has based on the groups they are a part of. If you want to give specific permissions you will need to create a group with those permissions and add the user to that group.
In order to change the permissions:
Select Access Management > Groups from navigational menu.
Select Edit from the arrow menu of the group you want to modify the permissions of (or create a group).
Select the Permissions Tab.
Click the Add Permissions button.
A full list of the options available is here.
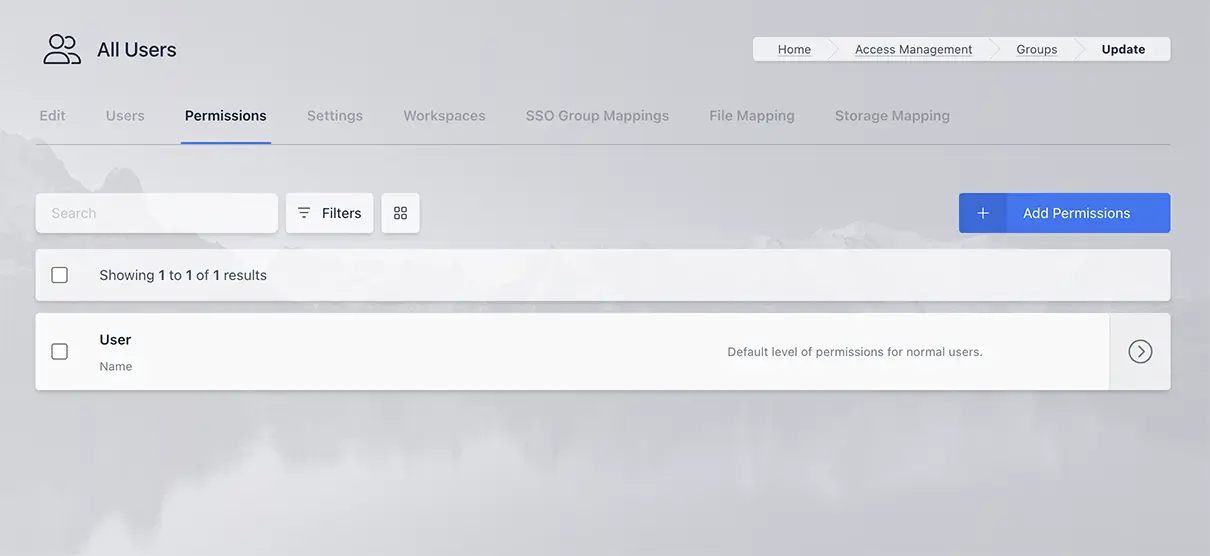
User Permissions
User File Mappings
File Mappings allow the administrator to manage files to be mapped to the inside of a user’s container based Workspace session. File Mappings can be defined on a User, Group, and/or Workspace. See the primary documentation on File mappings for more details.
Note
User defined File Mappings can only be defined by the administrator.
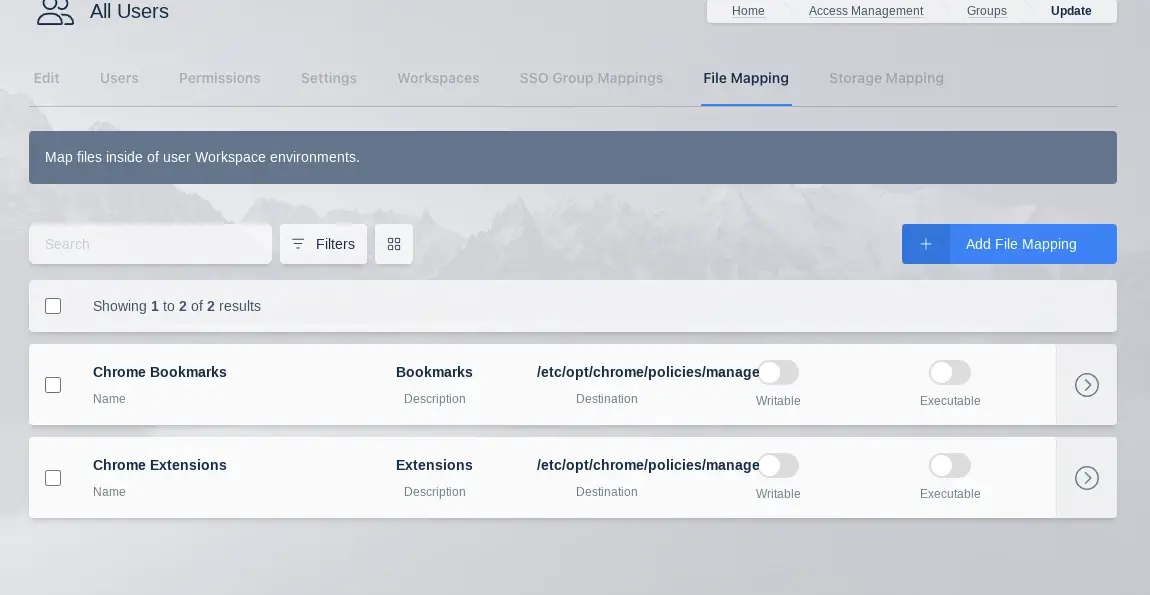
File Mappings Table
The following is an example File Mapping of a Chrome Managed Policy to define bookmarks in Chrome.
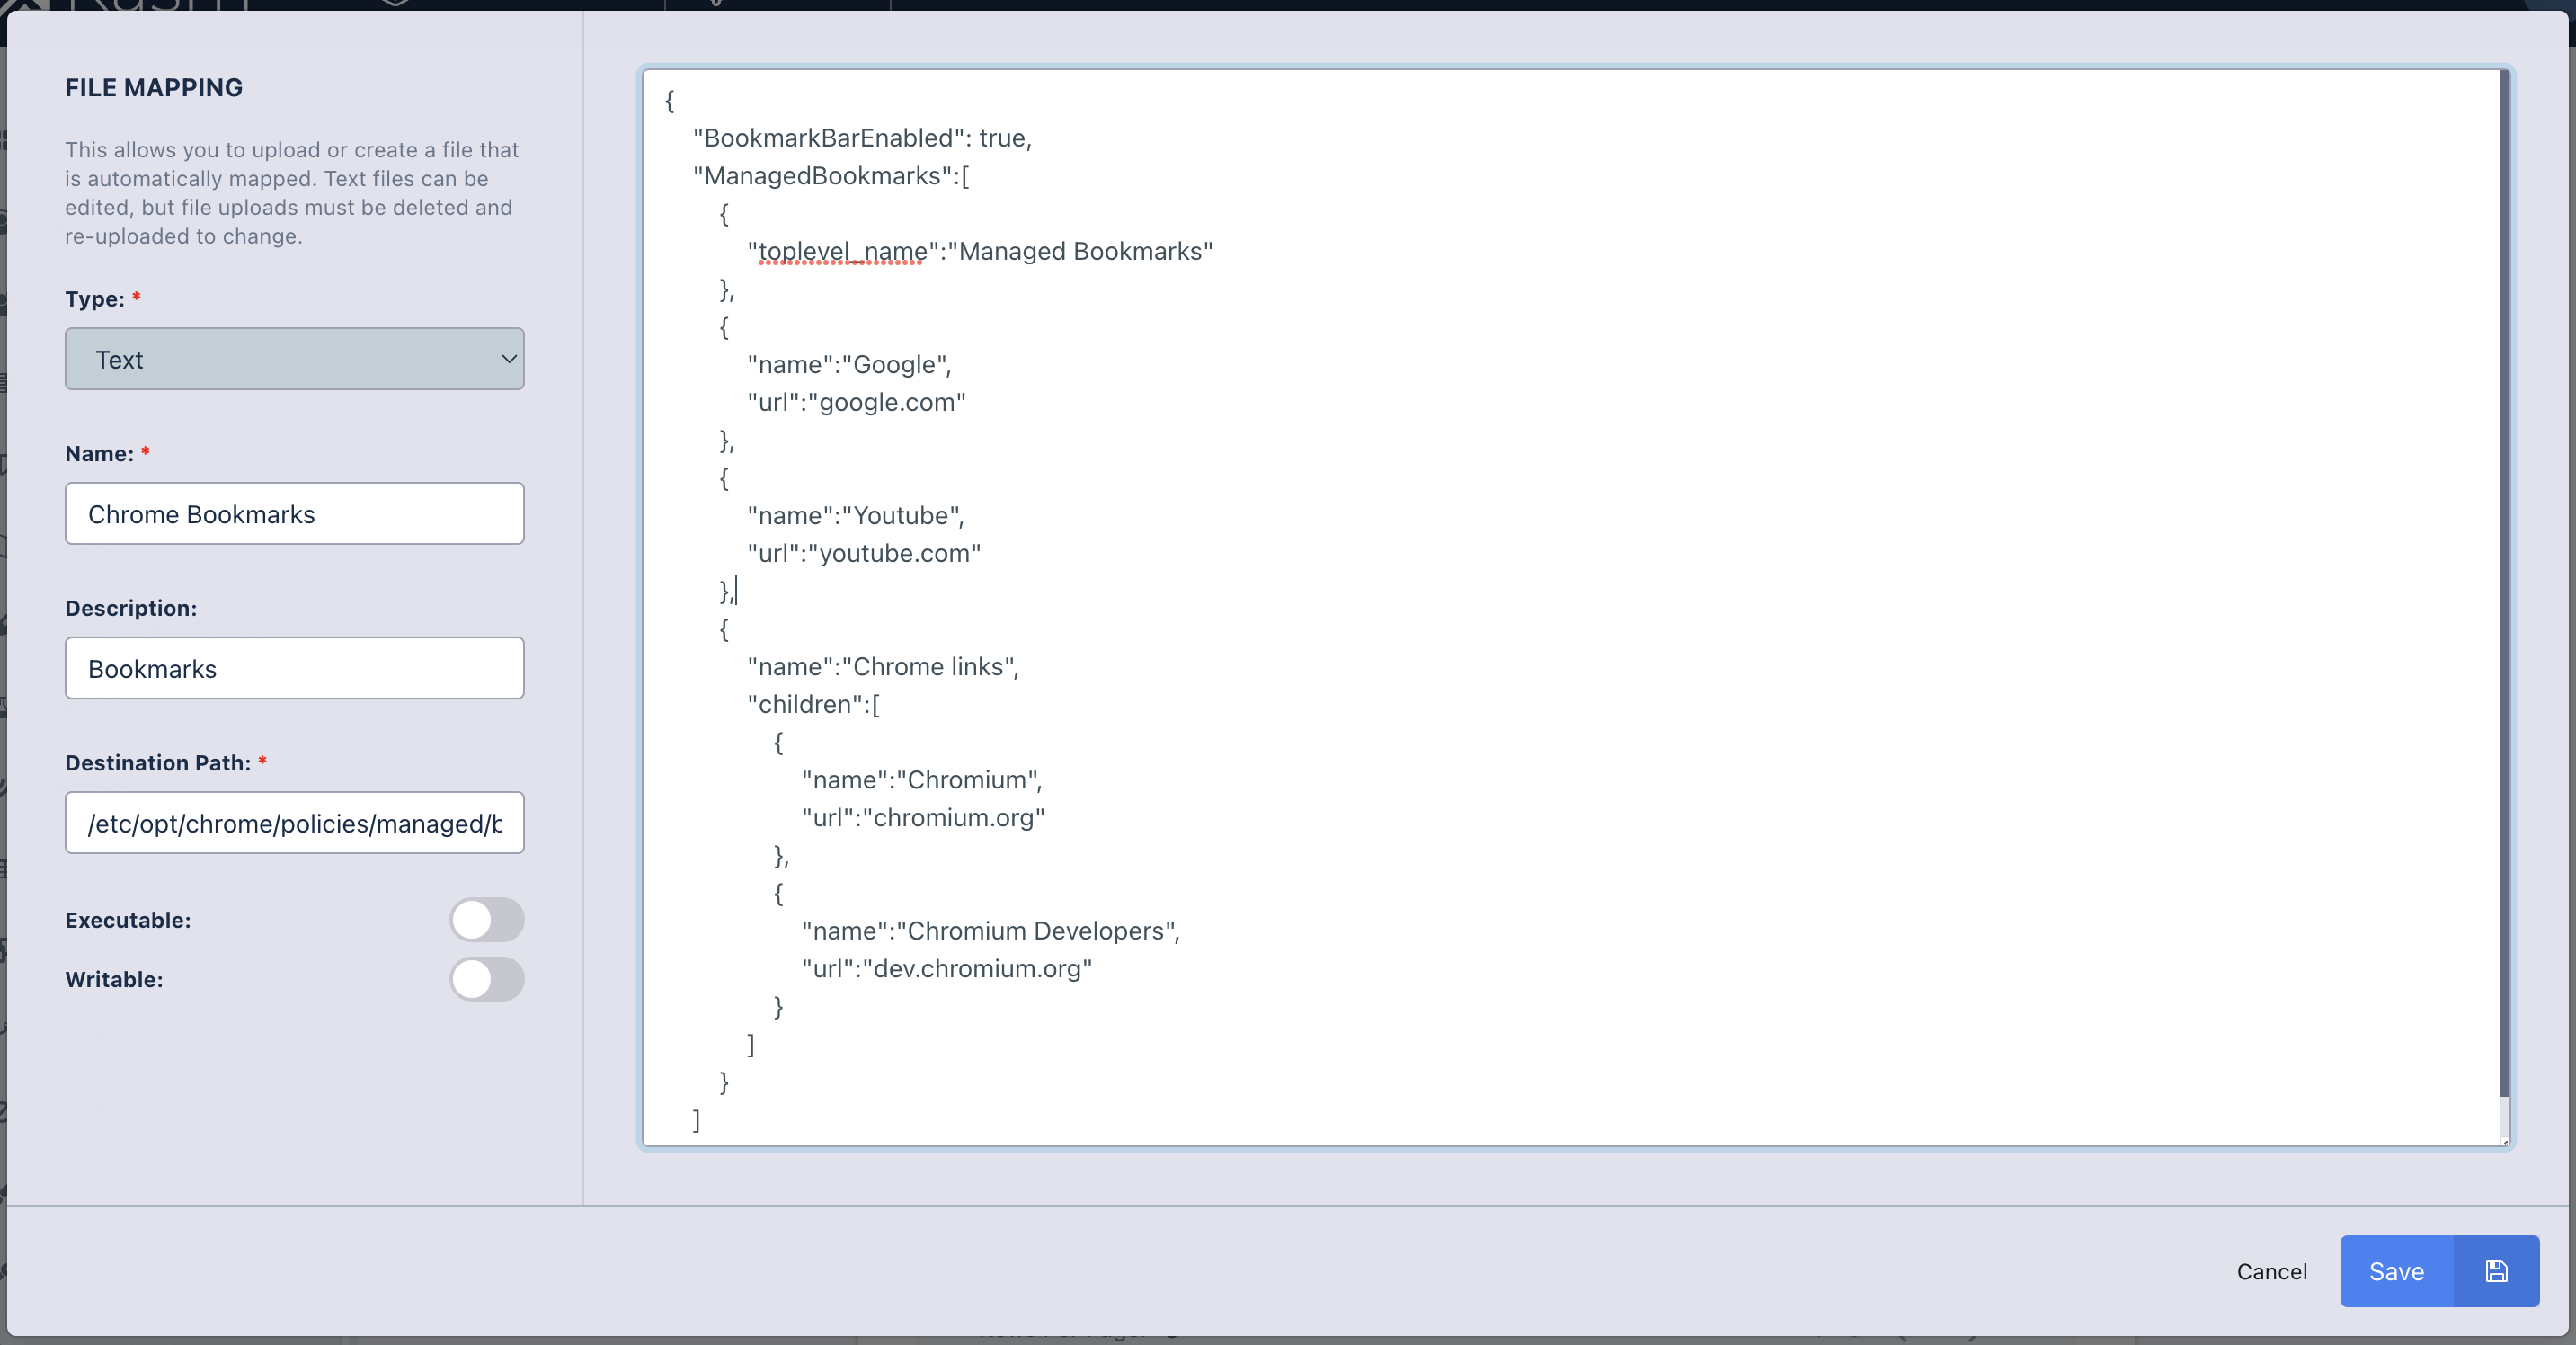
File Mapping Definition