Google OpenID Setup
Warning
Be mindful when configuring OpenID providers that are public. Any user that can successfully authenticate with the provider will have access to your deployment of Kasm Workspaces. While access to Kasm Workspace apps and desktops can be resitricted with Kasm group permissions, any user of the public authentication provider would still be able to login to your deployment of Kasm. It is recommended to use a private OpenID provider unless your intention is to allow authentictioned access to all users of the OpenID platform provider.
This guide walks through a basic setup allowing Google users to authenticate with your Kasm deployment.
Note
Google OpenID does not support OIDC Single Logout.
Reference Docs:
Creating a Google OAuth App
Login to the Google Developer Console: https://console.developers.google.com
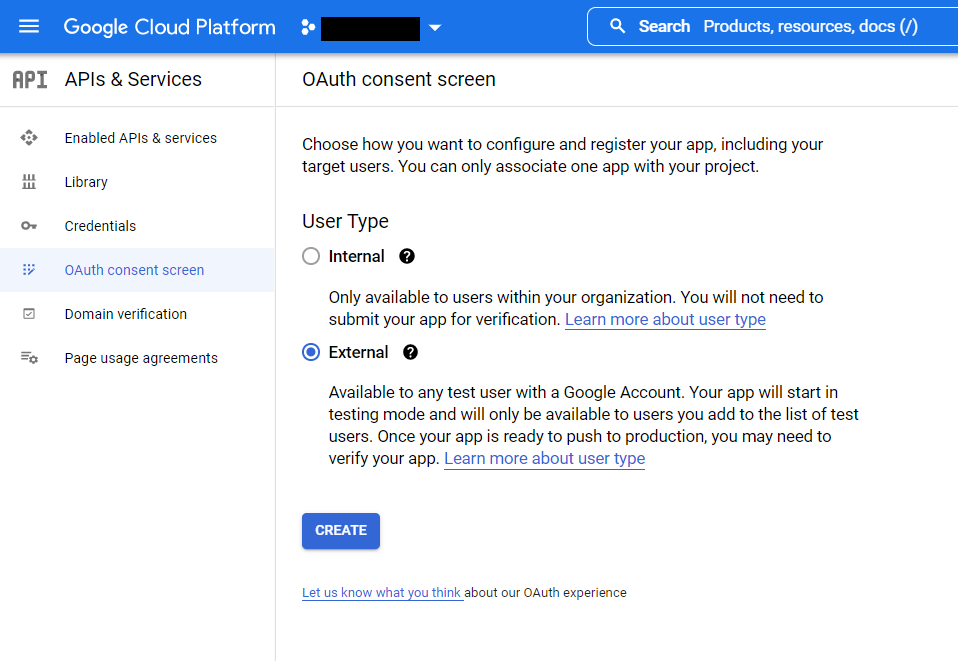
Select OAuth consent screen.
Select External then click Create.
Warning
In this example, we walk through creating an integration where any Google user can auth with the Kasm app. This is ideal for a public facing deployment. Choose Internal if only user from your Google Workspaces corporate account should be allowed to authenticate.
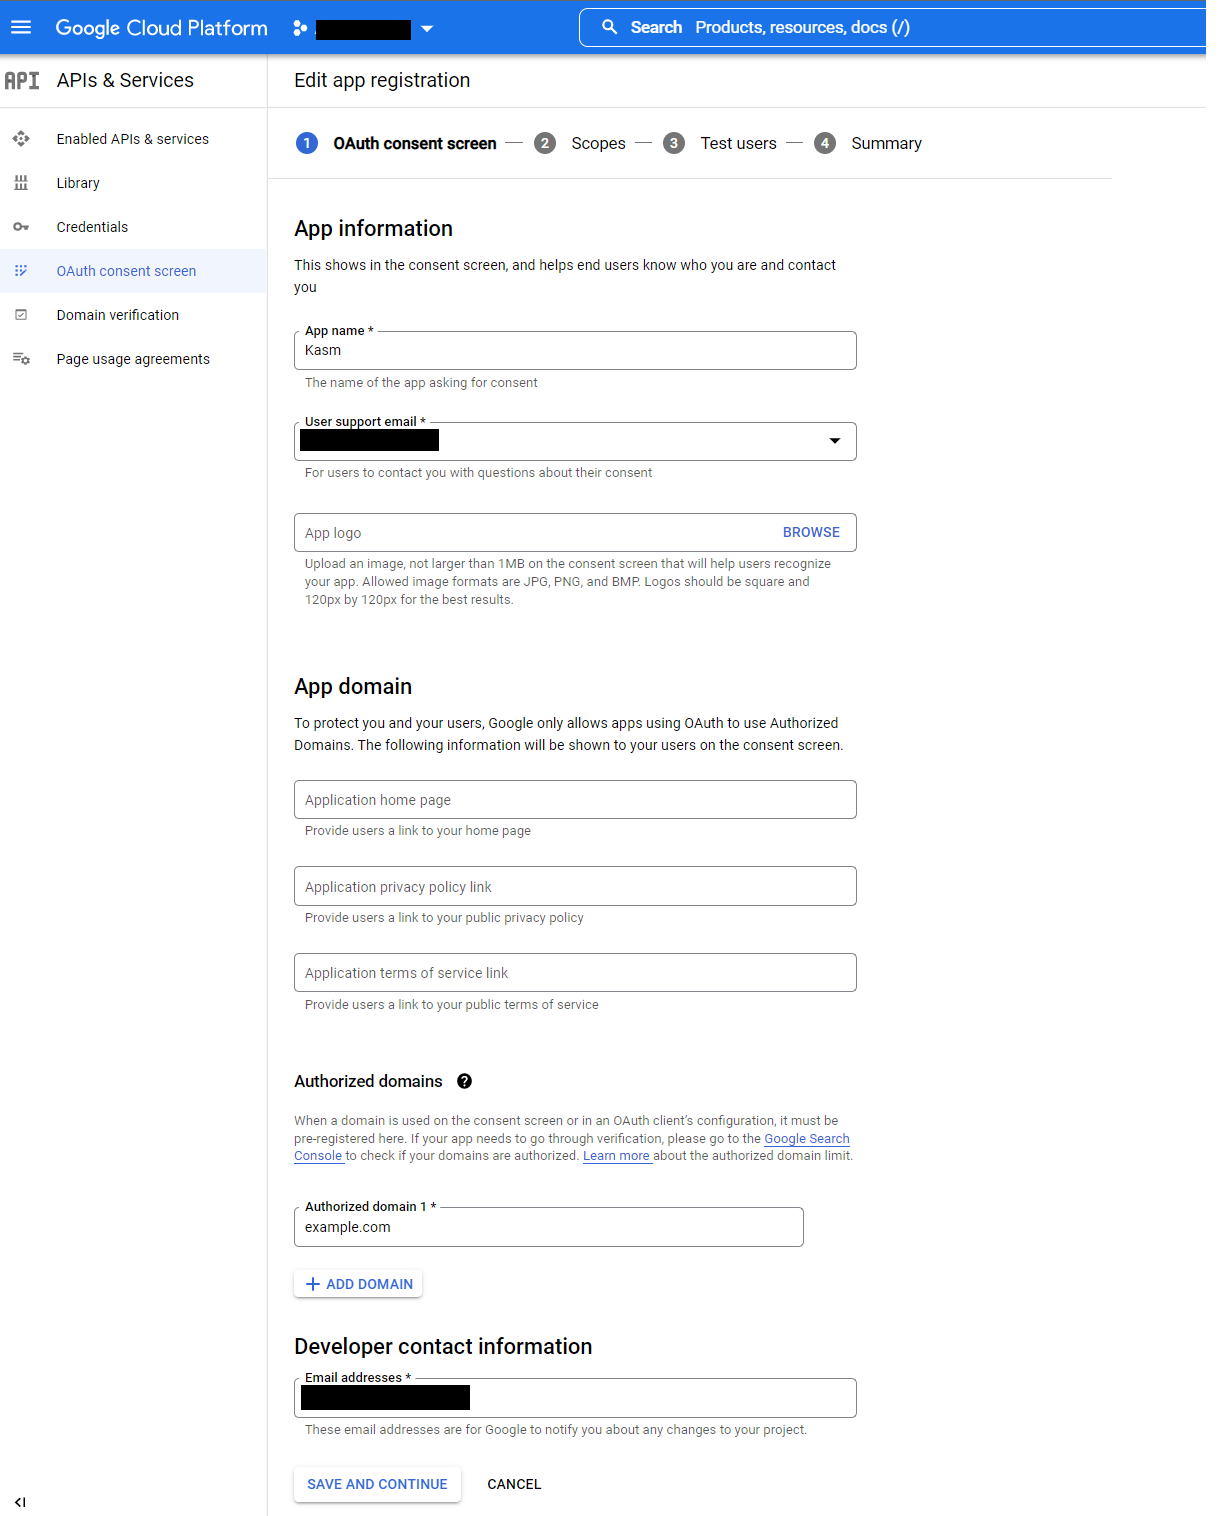
OAuth Consent
Provide values for the App Name , User support email, and Developer Contact email.
In the Authorized Domains section, enter your deployment’s top private domain (e.g
example.com).Click Save and Continue.
App Registration
Click Add or Remove Scopes.
In the Update Selected Scopes window check
.../auth/userinfo.email, then click Update.
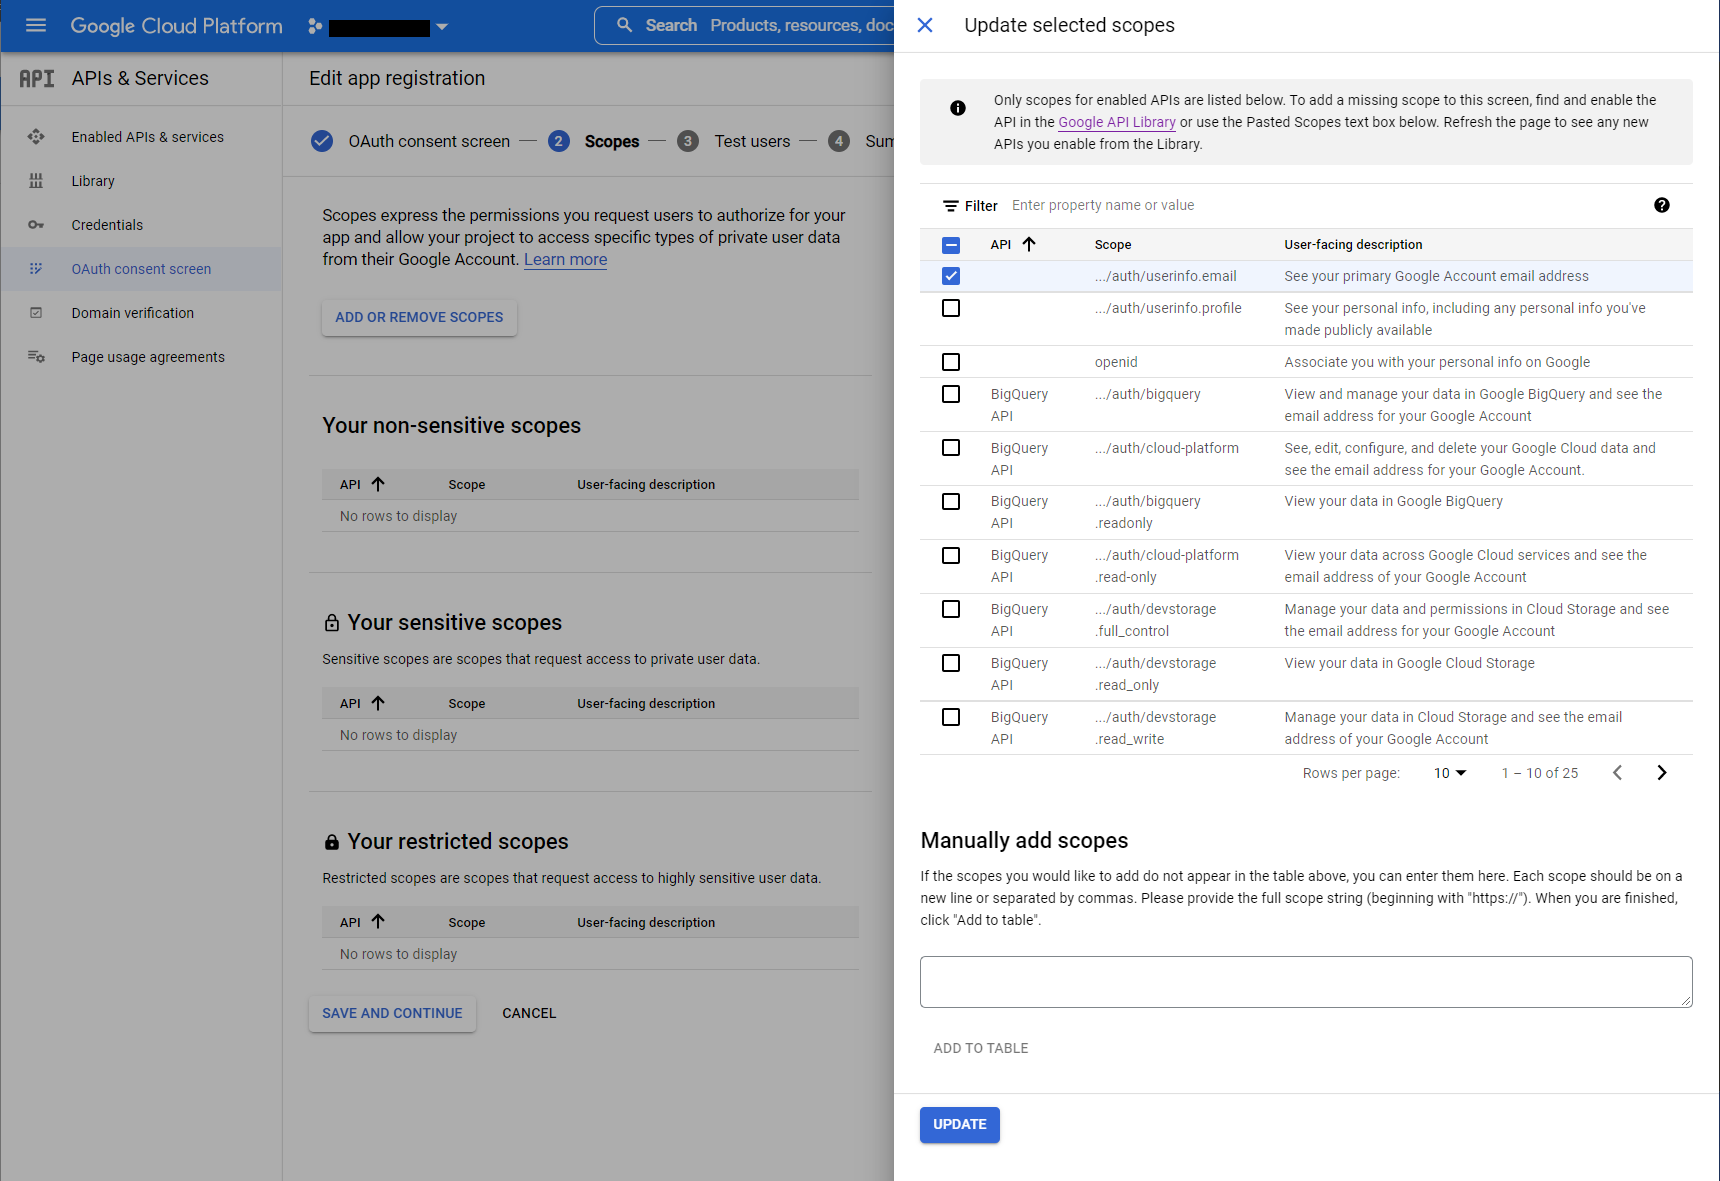
Update Selected Scopes
Click Save and Continue.
Until the app is fully verified and published it can only be used to auth specific test accounts. Click Add Users to authorize several test google accounts.
Click Save and Continue.
In the APIs & Services menu, select Credentials.
Select Create Credentials, then OAuth client ID.
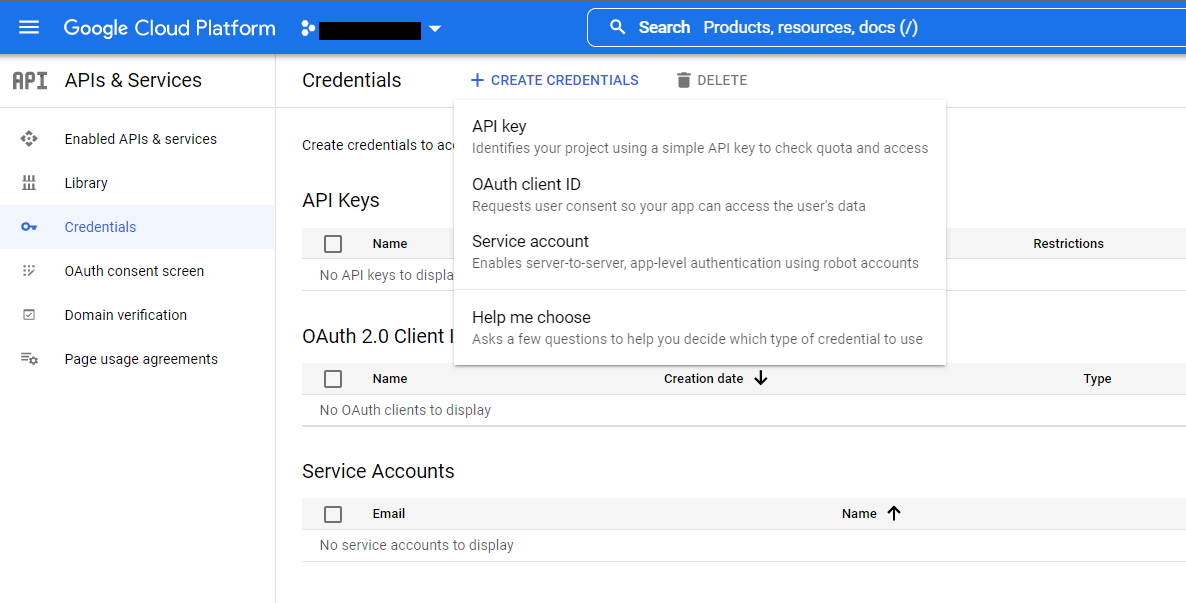
Create Credentials
Select
Web Applicationas the Application type, then give the client a name (e.gKasm).Click Add URI in the Authorized redirect URIs section, and enter
https://<kasm deployment hostname>/api/oidc_callback.Click Create.
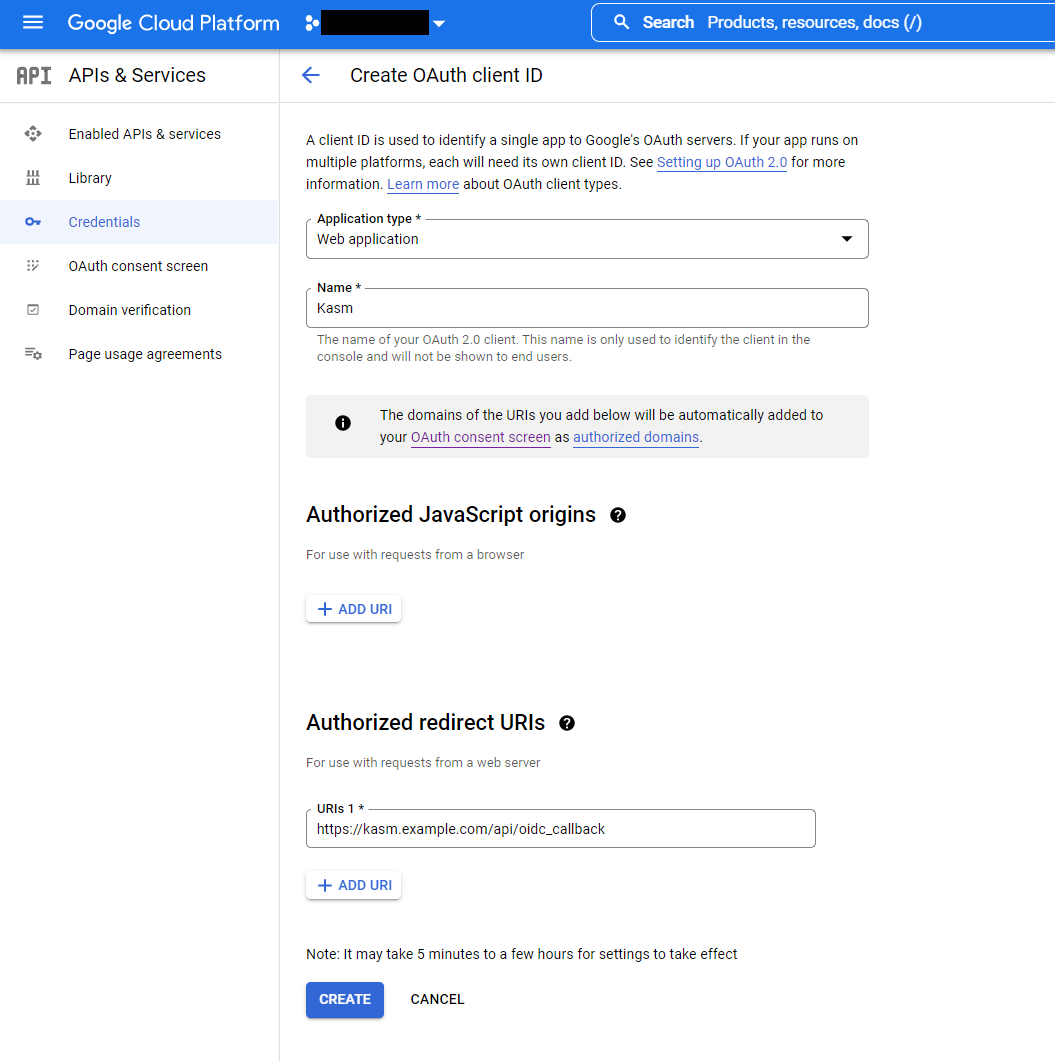
Create OAuth Client
17. A dialogue will display with a Client ID and Client Secret. Save these values for the next configuration steps. The JSON download will also include URLs needed for the next configuration steps.
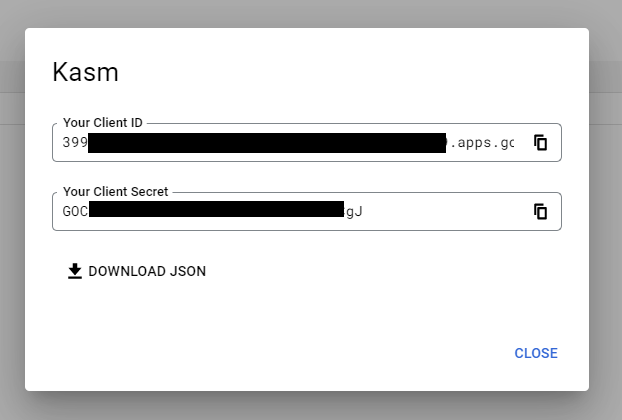
Client ID and Client Secret
Kasm OpenID Config
Log into the Kasm UI as an administrator.
Select Access Management -> Authentication -> OpenID -> Add Config.
Update the form with the following entries, using the Client ID and Client Secret gathered in the previous section.
Property |
Value |
Enabled |
Checked |
Display Name |
Continue with Google |
Logo URL |
|
Auto Login |
Unchecked |
Hostname |
<Empty> |
Default |
Checked |
Client ID |
<Client ID From Google OAuth App> |
Client Secret |
<Client Secret from Google OAuth App> |
Authorization URL |
|
Token URL |
|
User Info URL |
|
Scope |
|
Username Attribute |
|
Groups Attribute |
Unchecked |
Debug |
Unchecked |
Redirect URL |
|
OpenID Connect Issuer |
Blank |
Logout with OIDC Provider |
Unchecked |
Enable OIDC SLO Frontchannel Endpoint |
Unchecked |
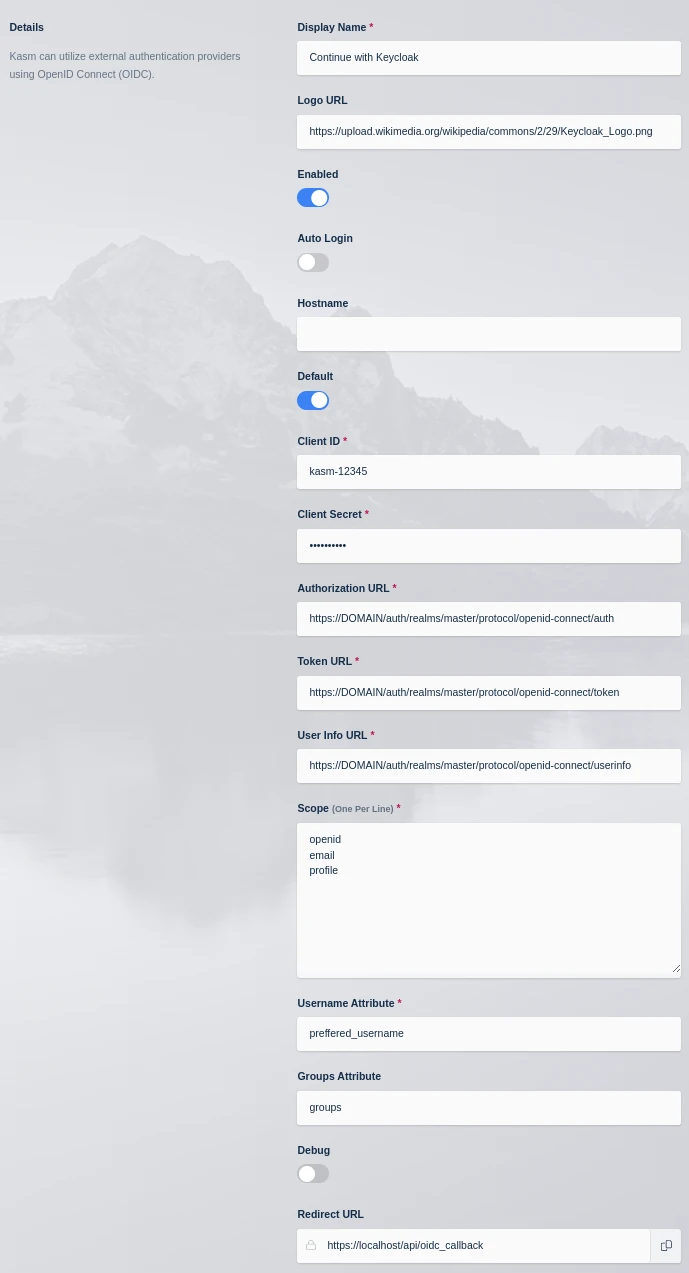
Kasm OIDC Configurations
Click Save to save the changes.
Google Login Test
Logout of the Kasm to display the login screen. The OpenID configuration should be shown.
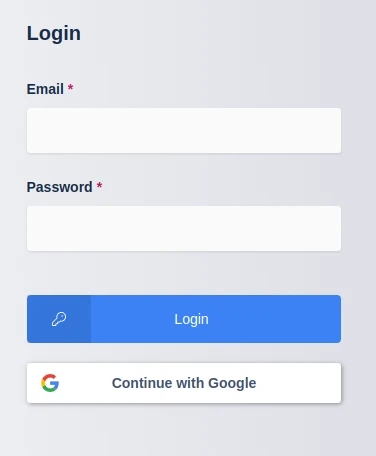
Login Screens
Click Continue with Google.
The user is redirected to Google for auth.
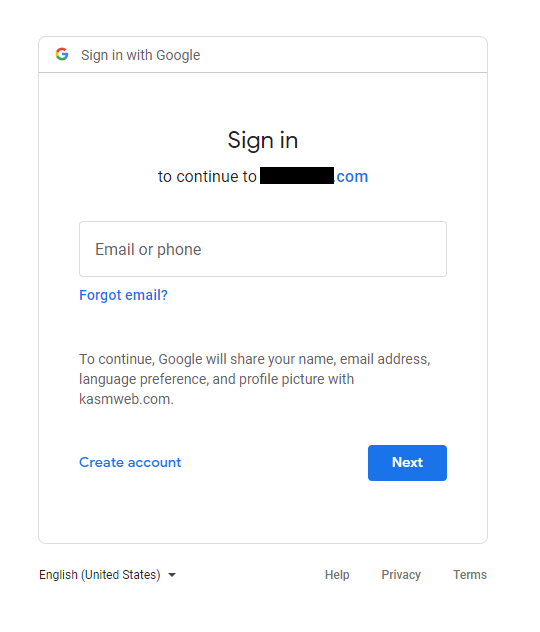
Google Auth
Upon completion, the user is logged into the Kasm app.