Auth0 OpenID Setup
This guide walks through a basic setup allowing Auth0 users to authenticate with a Kasm deployment.
Reference Docs:
https://auth0.com/docs/authenticate/protocols/openid-connect-protocol
https://auth0.com/docs/get-started/apis/scopes/openid-connect-scopes
Creating an Auth0 OAuth App
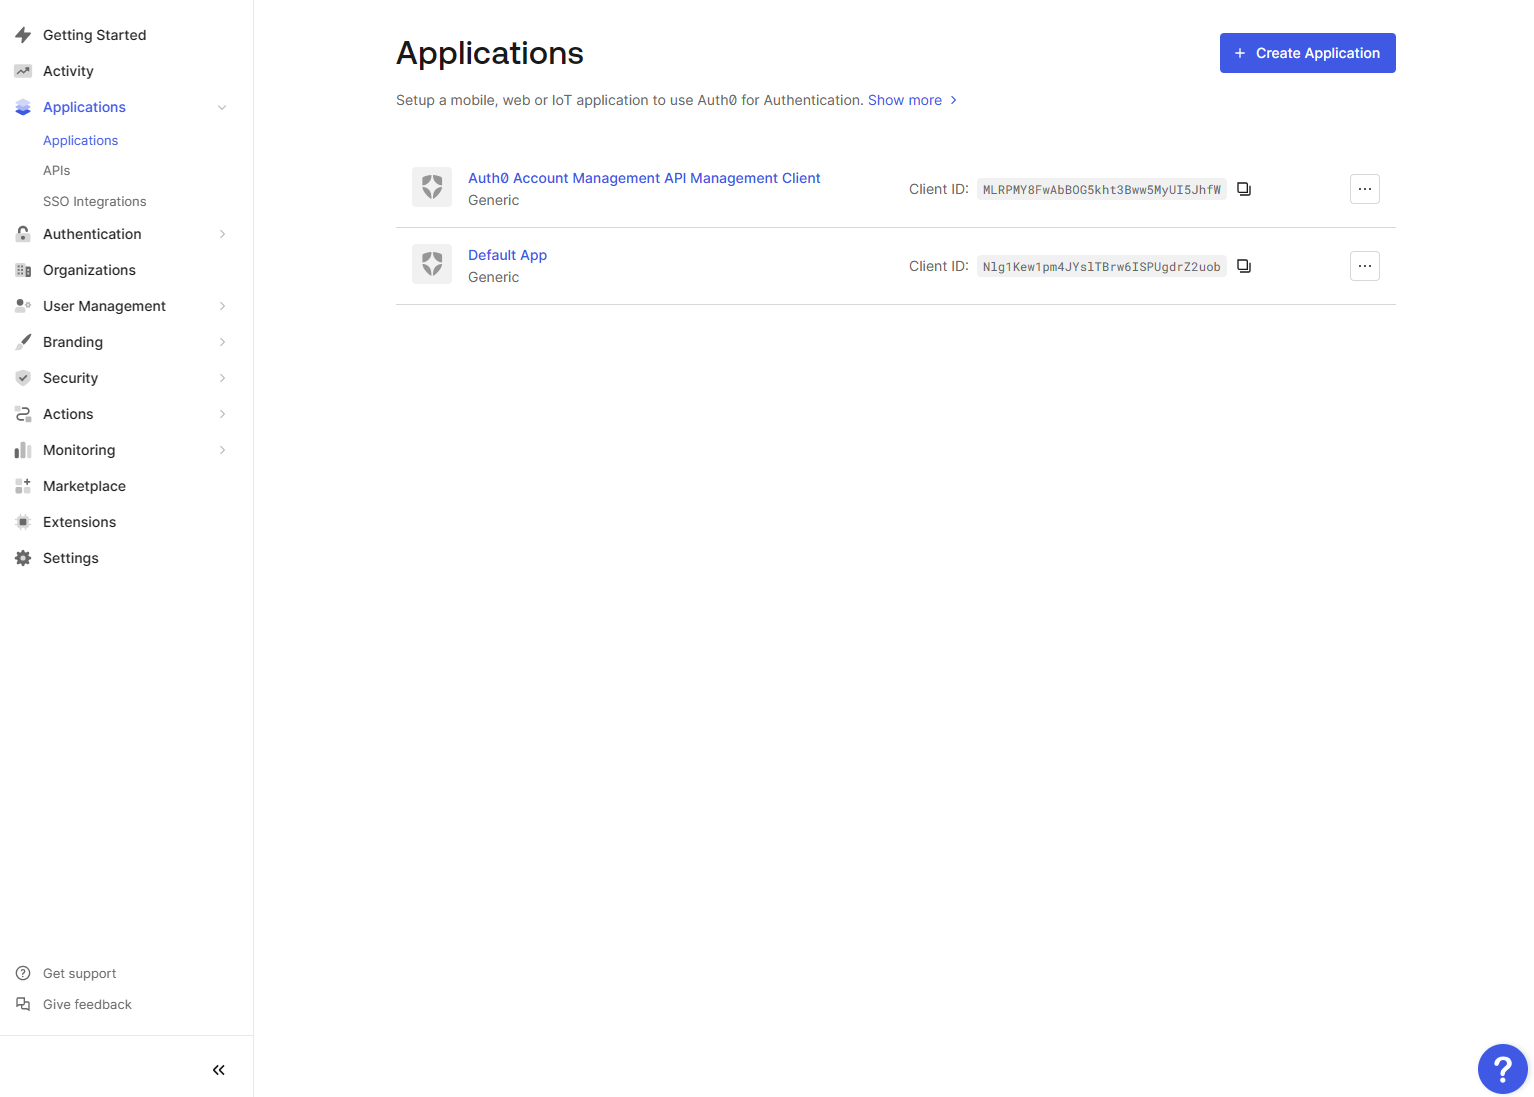
Login to the Auth0 portal as an Admin.
Expand Authentication and select Applications.
Click Create Application.
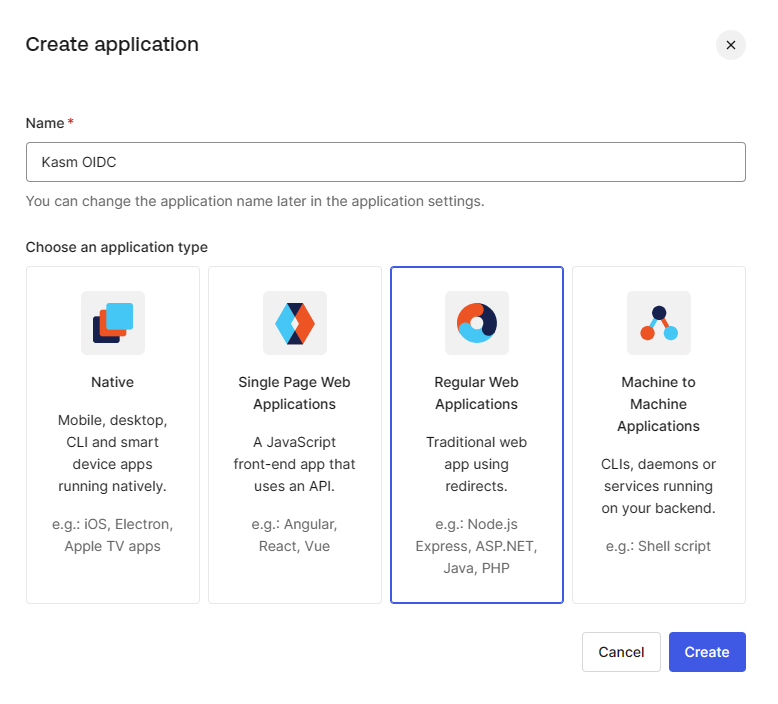
Create Application
Give the app a name (e.g
Kasm), select Regular Web Application and click Create.
Create Web Application
Select the Settings Tab.
Take note of the Client ID and Client Secret values. These will be used in later steps.
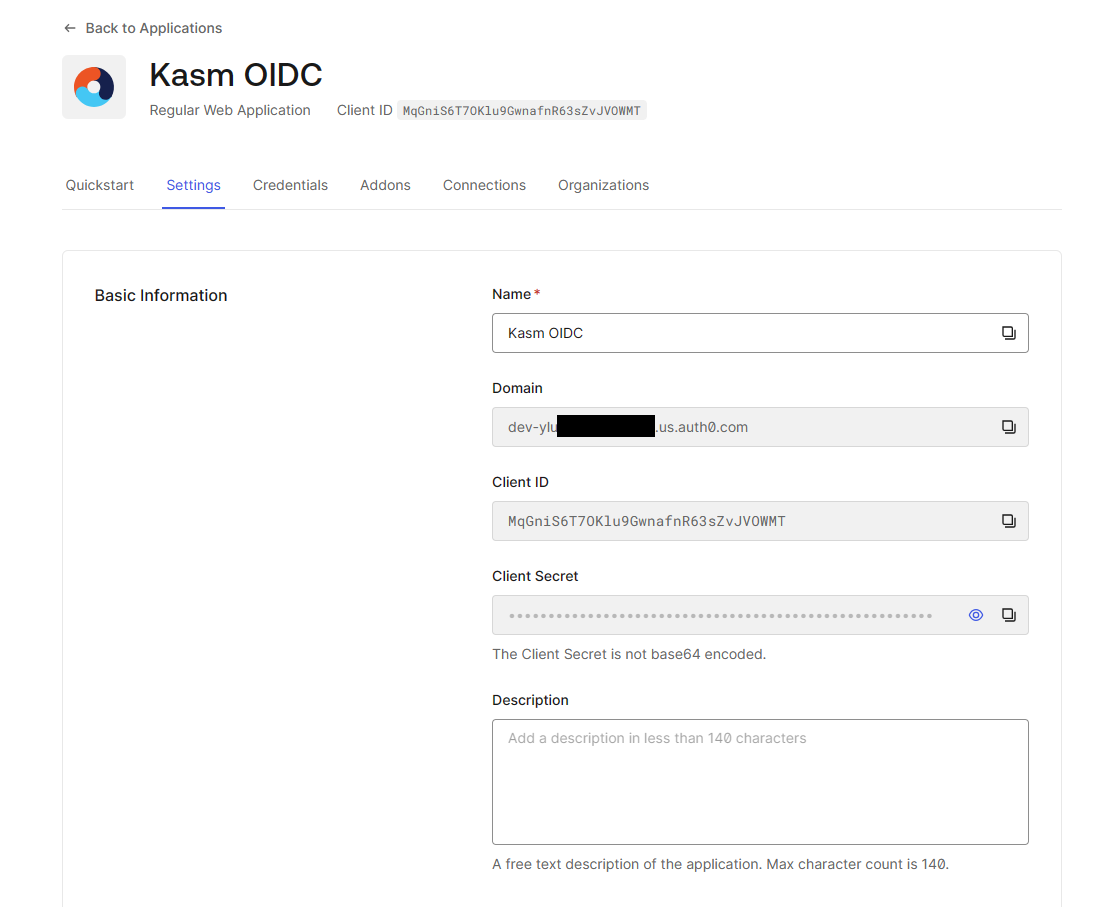
Create ID and Secret
In the Application URIs section, Allowed Callback URLs, add the deployment’s Kasm callback endpoint. Ex:
https://kasm.example.com/api/oidc_callbackIn the Application URIs section, Allowed Logout URLs, add the root of the Kasm deployment. Ex:
https://kasm.example.com/
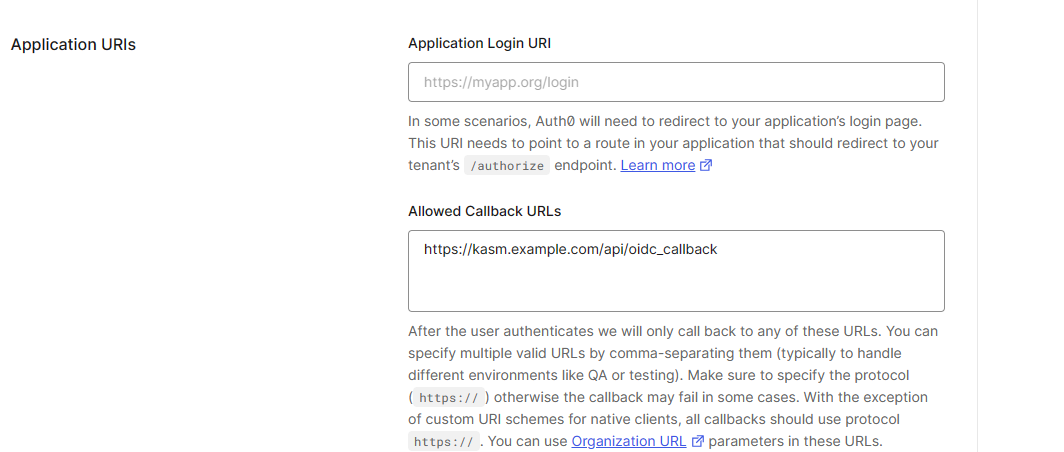
Callback URL and Logout URL
If using Auth0
enterprise, in the Backchannel Logout section, configure the Back-Channel Logout URI with the deployment’s endpoint, ex.https://kasm.example.com/api/oidc_backchannel_logout. Select any or all supported logout-initiating events.

Back-Channel Logout URI
Warning
Back-channel logout will fail with vague errors in the Auth0 console if the Kasm is configured with insecure HTTPS certificates, e.g. if the certificates are self-signed.
Scroll down and expand Advanced Settings, the select Endpoints. Take note of the OAuth Authorization URL, OAuth Token URL, and OAuth User Info URL, and OpenID Configuration. These will be used in later steps.
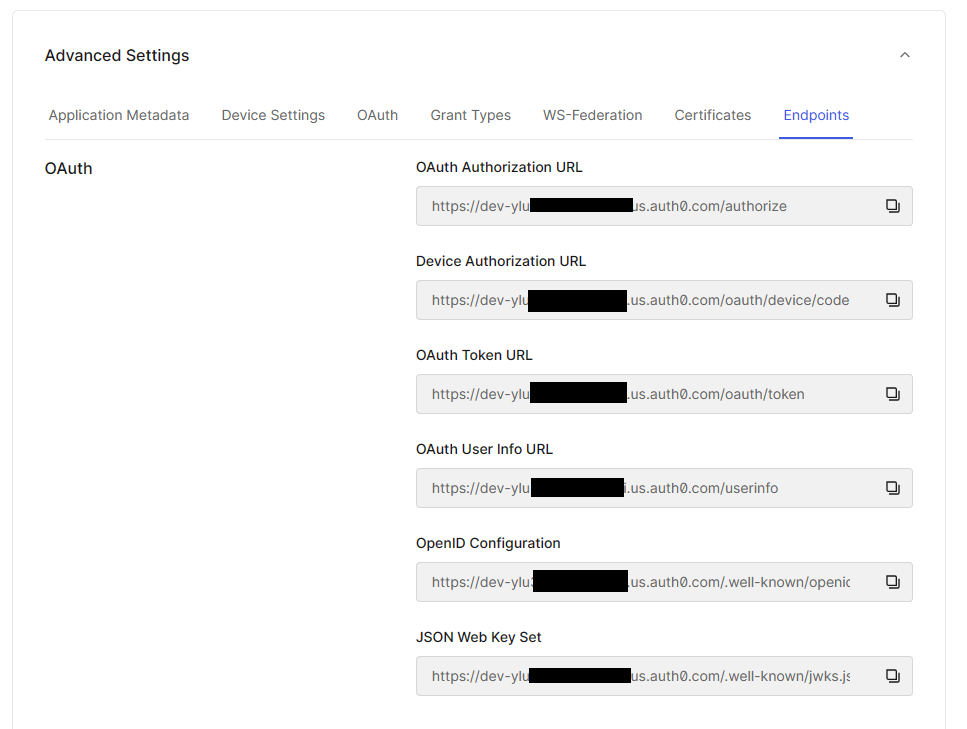
OAuth Endpoints
Click Save Changes.
In a separate tab, navigate to the URL value obtained from the OpenID Configuration field earlier.
Find and save off the value for
"issuer", for use in a later step.
(Optional) Configuring Auth0 to forward User Roles
In many cases it may be desireable to place SSO users in specific Kasm Groups based on their Roles as defined within Auth0. The following steps may be used to configure Auth0 to provide Kasm with the User’s Role during authentication.
From the Auth0 admin console expand Actions, select Library and click Build Custom.
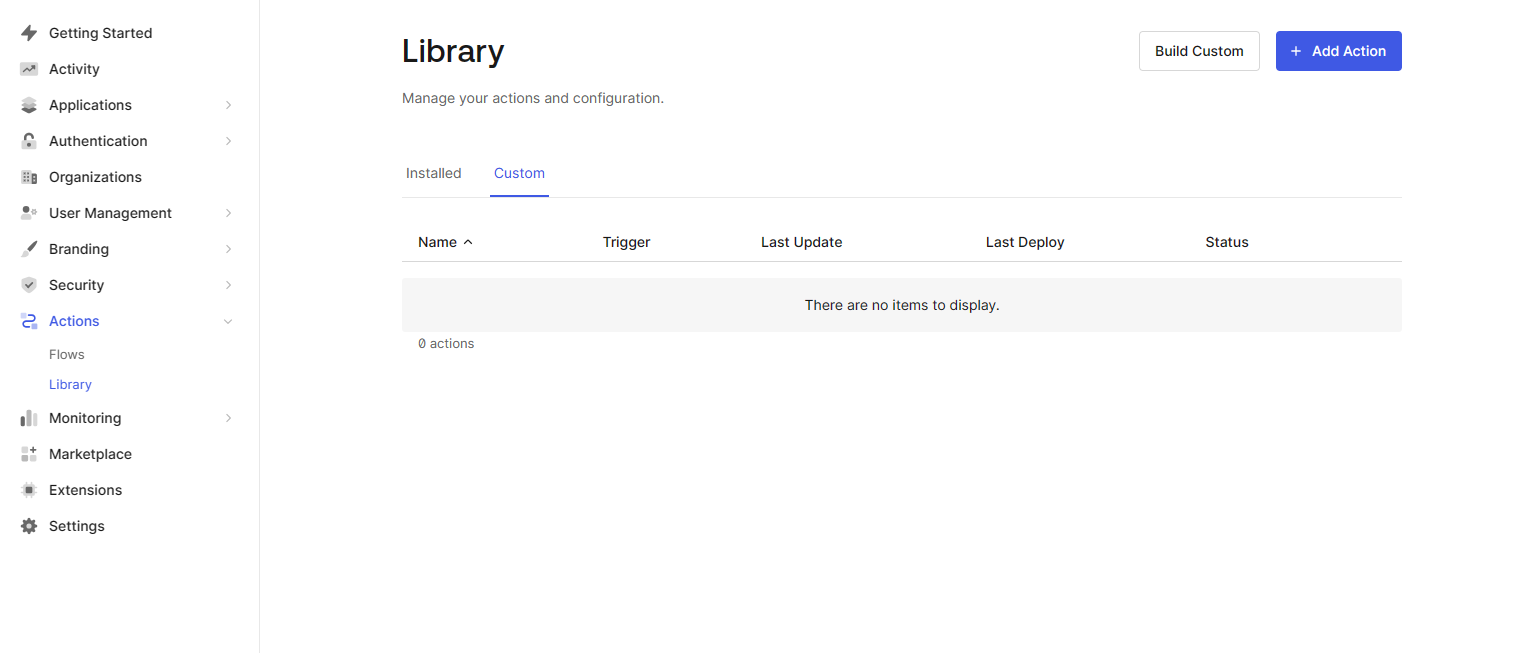
Build Custom Action
In the Create Action popup, enter a name (e.g
Add User Roles) , selectLogin / Post Loginas the Trigger and the recommended runtime (e.gNode 18 Recommended).
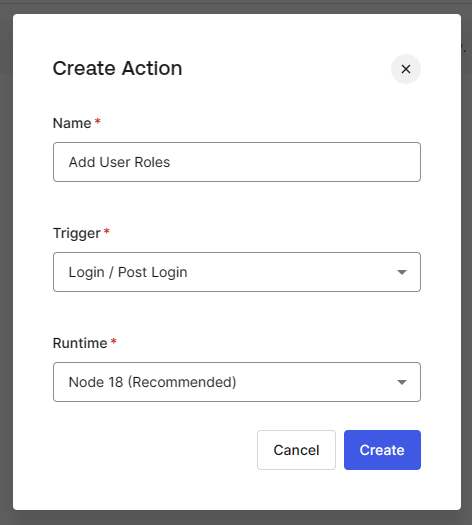
Create Action
Click Create.
Replace the contents of editor with the following code snippet and click Deploy .
exports.onExecutePostLogin = async (event, api) => {
  const namespace = 'auth0';
  if (event.authorization) {
    api.idToken.setCustomClaim(`${namespace}/roles`, event.authorization.roles);
    api.accessToken.setCustomClaim(`${namespace}/roles`, event.authorization.roles);
  }
}

Deploy Action
Note
This example is pulled from the Auth0 Documentation: https://auth0.com/docs/manage-users/access-control/sample-use-cases-actions-with-authorization#add-user-roles-to-tokens
The namespace can be changed as desired. Per the example auth0 is used which will result in the
Groups Attrbute setting in the Kasm OIDC config being auth0/roles.
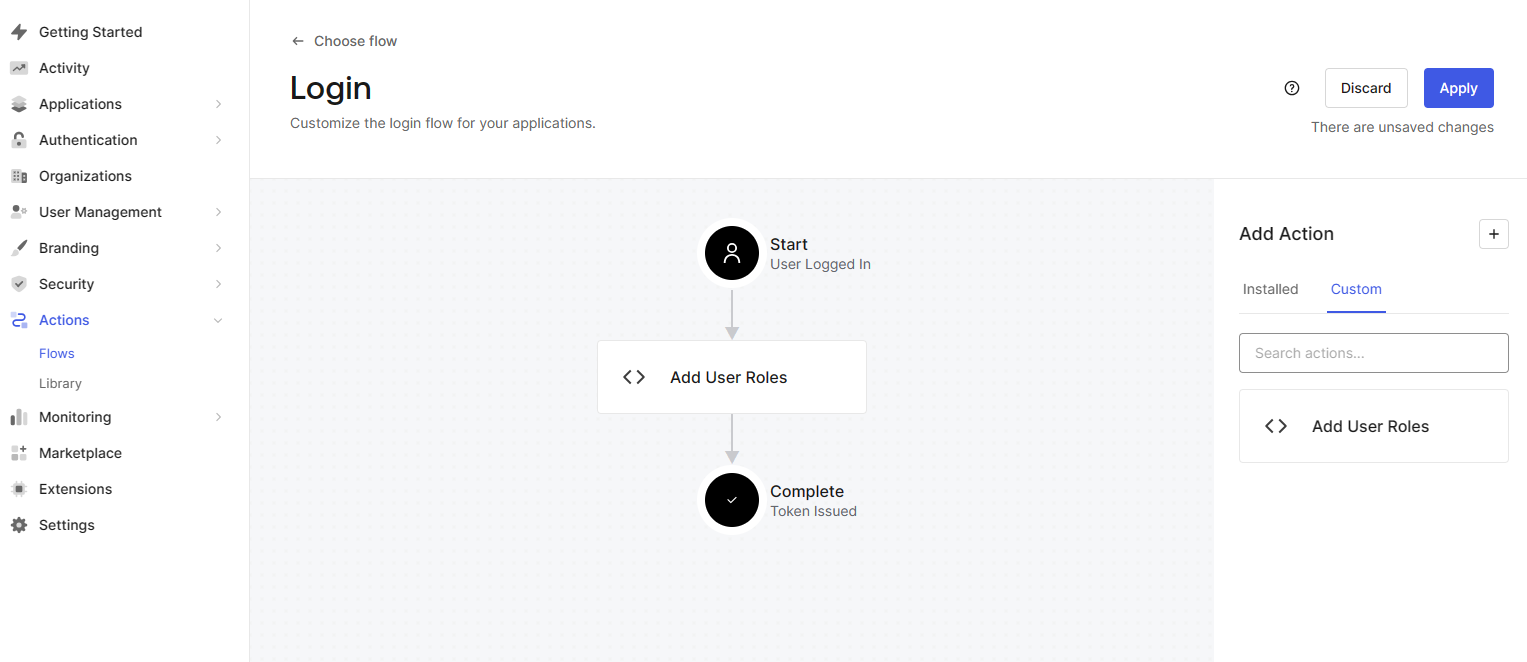
In the main menu, expand Actions, select Flows, then click Login.

Login Flow
In the Add Action section, select Custom. The recently created action (e.g
Add User Roles) should be visible.

Login Flow
Drag the action into the workflow and click Apply.
Login Flow
Kasm OpenID Config
Log into the Kasm UI as an administrator.
Select Access Management -> Authentication -> OpenID -> Add Config.
Update the form with the following entries, using the Client ID and Client Secret gathered in the previous section.
Property |
Value |
Enabled |
Checked |
Display Name |
Continue with Auth0 |
Logo URL |
|
Auto Login |
Unchecked |
Hostname |
<Empty> |
Default |
Checked |
Client ID |
<Client ID from Auth0> |
Client Secret |
<Client Secret from Auth0> |
Authorization URL |
<OAuth Authorization URL from the Auth0 configuration> |
Token URL |
<OAuth Token URL from the Auth0 configuration> |
User Info URL |
<OAuth User Info URL from the Auth0 configuration> |
Scope |
|
Username Attribute |
|
Groups Attribute |
|
Debug |
Unchecked |
Redirect URL |
|
OpenID Connect Issuer |
<Issuer value from the Auth0 OpenID Configuration resource> |
Logout with OIDC Provider |
Checked |
Enable OIDC SLO Frontchannel Endpoint |
Unchecked |

Kasm OIDC Configurations
Click Save to save the changes.
Auth0 Login Test
Logout of the Kasm to display the login screen. The OpenID configuration should be shown.
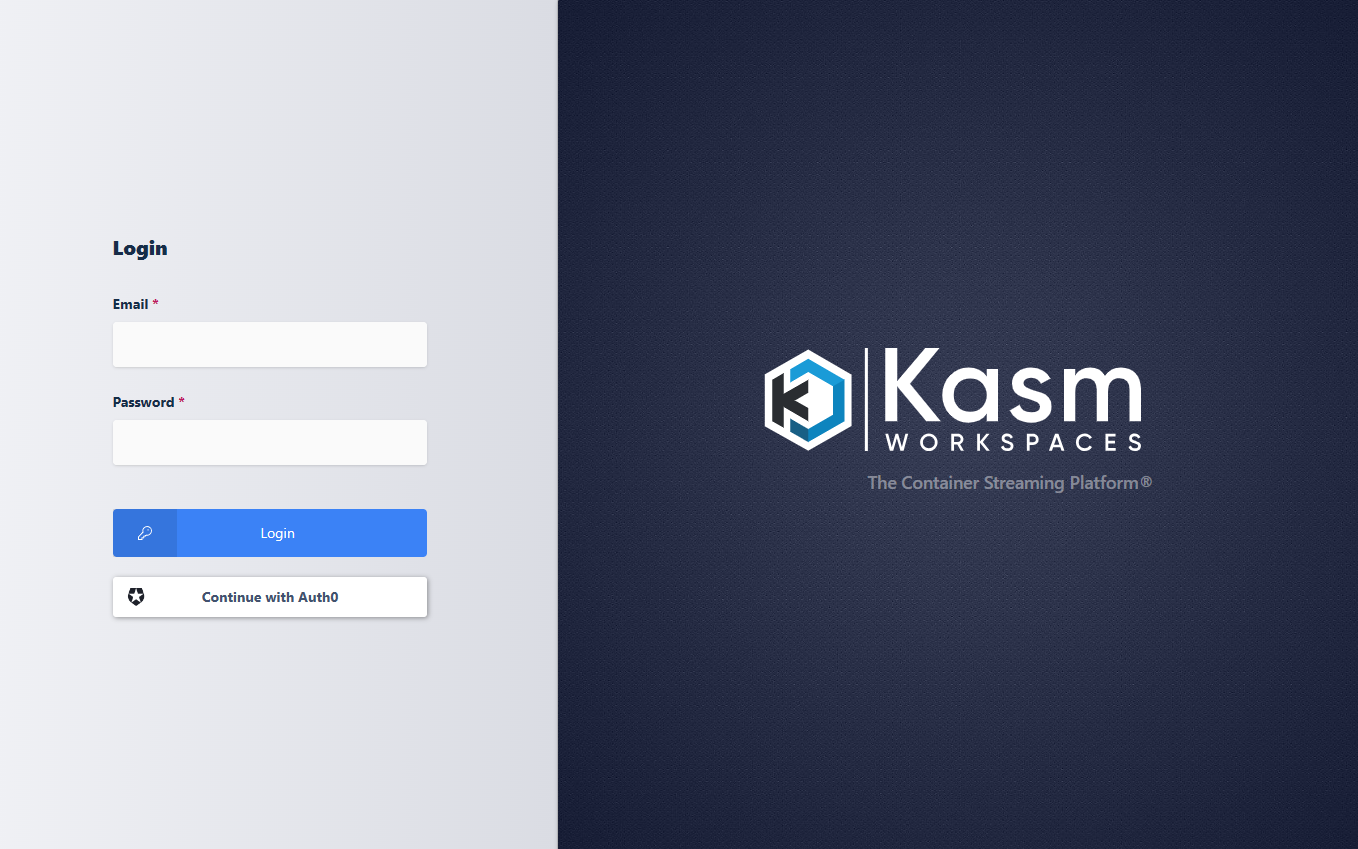
Login Screen
Click Continue with Auth0
The user is redirected to Auth0 for auth.
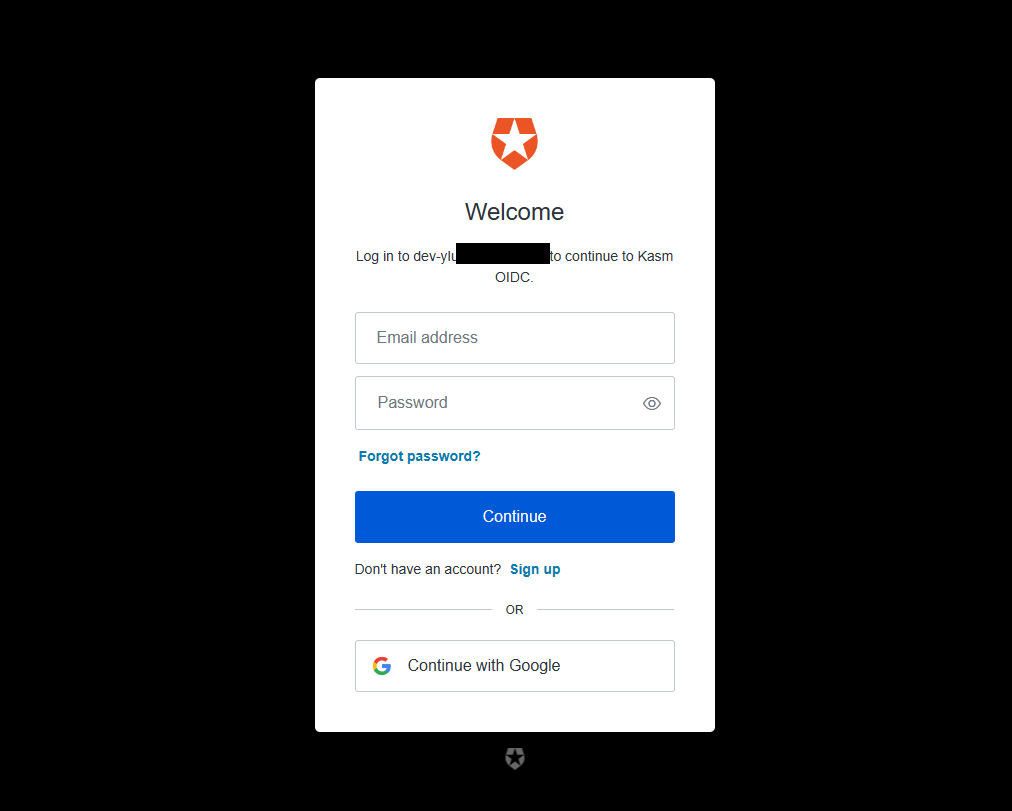
Auth0 Auth
Upon completion, the user is logged into the Kasm app.
Group Mapping
In a previous section Auth0 was configured to send a list of Roles the user belongs to during the OpenID auth workflow. We can now configure Kasm Groups with the Role associations so that users are automatically added/removed based on their Auth0 Membership.
Log into the Kasm UI as an administrator.
Select Access Management -> Groups -> Add Group.
Name the Group Premium, and define a priority.
Click Save to create the group.
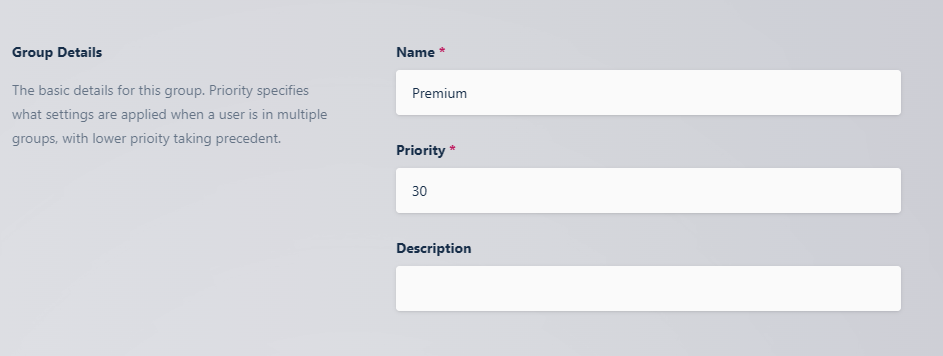
Group Configuration
On the groups screen, using the arrow menu select Edit on the group that was just created.
Navigate to the SSO Group Mappings tab and select Add SSO Mapping.
Select the OpenID IDP that was created above
OpenID - Continue with Auth0for the SSO Provider.Then enter the Auth0 group name desired in the Group Attributes field, e.g
Kasm Premium.Click Submit
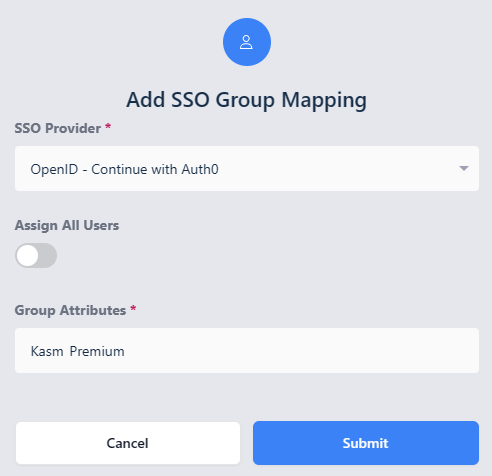
Add SSO Group Mapping
The Example Role as defined in Auth0.
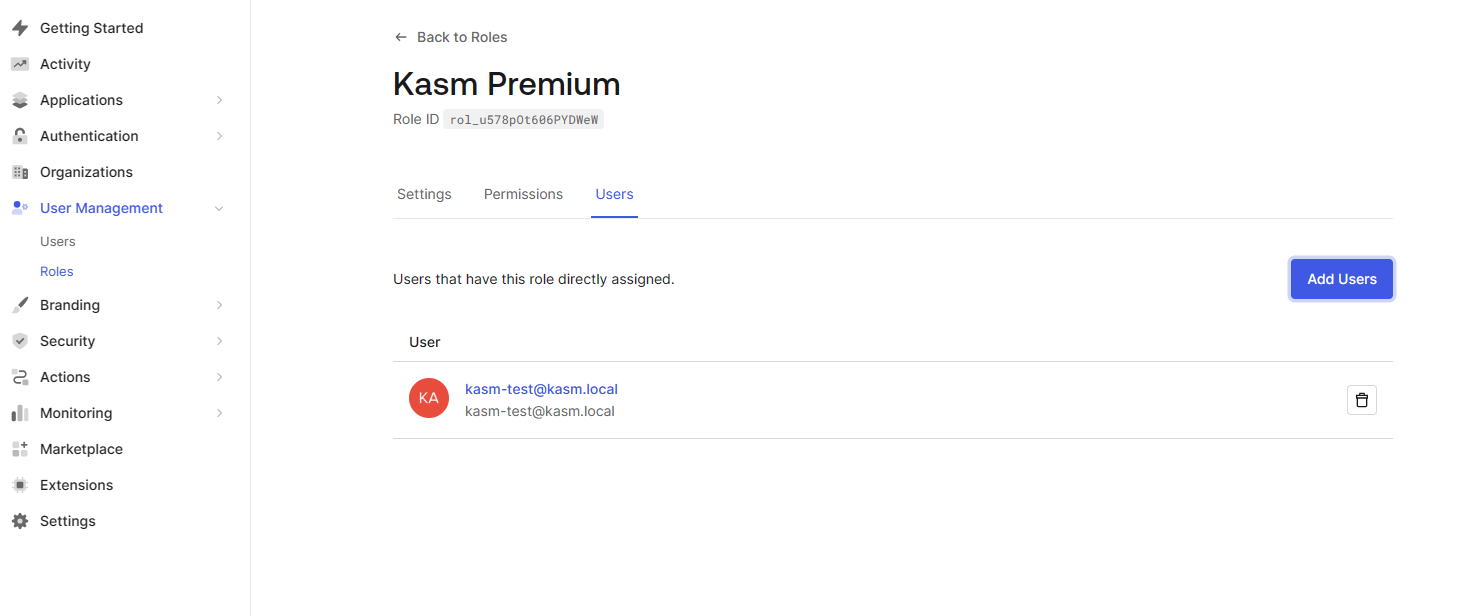
Auth0 Role SSO
Logout, then login via the Auth0 Open ID login with a user that is a member of the specified group.
View the users group membership to ensure they are added to the newly created group.