Cloudflare Tunnels
A Cloudflare Tunnel provides secure web connectivity to your Kasm Workspaces instance without requiring a publicly routable IP address or valid external SSL certificate by routing through the Cloudflare service. In this video, we will show you how to configure Kasm Workspaces with Cloudflare Tunnels using your own DNS hostname.
Video Tutorial
If you prefer to follow along with a video tutorial, you can watch this YouTube video that covers the same steps outlined in this guide.
Prerequisites
Important
Before starting, please ensure that you have completed the following steps:
Deployed a Kasm instance.
Registered a DNS domain.
Set up a Cloudflare account.
Connected cloudflare nameservers to your domain provider.
Connecting Your Domain to Cloudflare
The first step is to connect your domain to Cloudflare. To do this, you need to change the name servers for your domain to Cloudflare’s name servers. Here are the steps to follow:
Navigate to the DNS tab on the left-hand side of your Cloudflare dashboard.
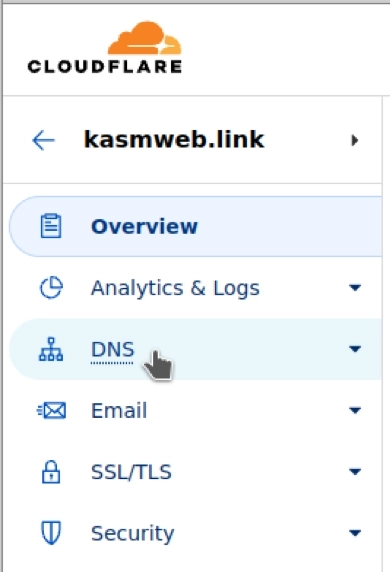
Location of Cloudflare DNS Section
Scroll to the bottom and copy the two Cloudflare name servers.
Log in to your domain provider and replace the existing name servers with the Cloudflare name servers.
Warning
The process of changing your domain’s name servers may take up to 48 hours to propagate.
Setting up the Tunnel
To set up the tunnel after connecting your domain to Cloudflare, follow these steps:
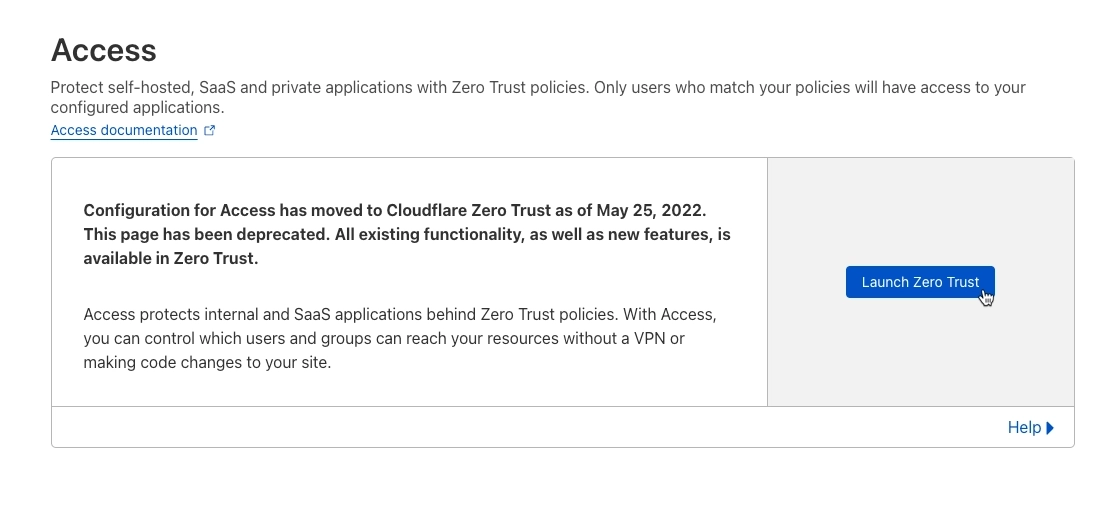
Navigate to the Access tab on the left-hand side of your Cloudflare dashboard and click on the “Launch Zero Trust” button. This will take you to the zero-trust dashboard, where you can access tunnels by clicking the drop-down arrow next to Access and selecting Tunnels.
Location of Cloudflare Tunnels Zero Trust
To install a new tunnel, click on “Create a Tunnel,” give it a name, and click “Save Tunnel.”
Select the Docker tab and copy the provided code.
Paste this code into a text editor of your choice, such as VS Code.
Important
Add “-d” after the “run” section to ensure it runs in the background.
Copy and paste the updated code into your host machine, and you’ll see that it’s now connected.
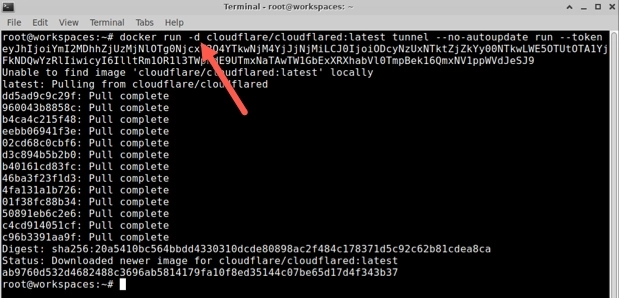
Example of Code With -d
Note
For more information about installing and configuring Cloudflare Tunnel, you can refer to the official documentation.
Connecting to a Public Host Domain
Once the tunnel is connected and running, you can connect it to a public host domain. To connect your tunnel to a public host domain, follow these steps:
Navigate to your existing tunnel by clicking on the drop-down arrow next to “Access” and selecting “Tunnels.”
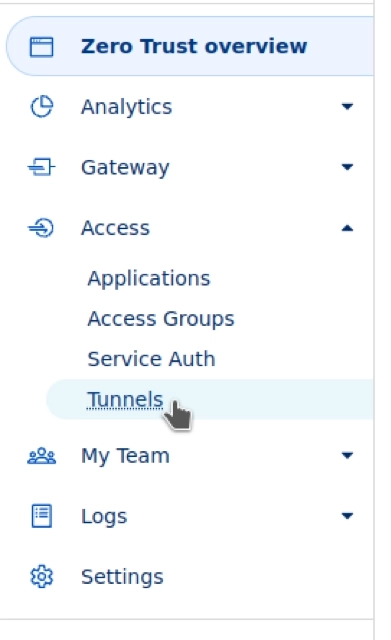
Location of Cloudflare Tunnels Tunnels
Find the name of your tunnel and click on it.
Click on the “Configure” button, and then click on “Public Hostname.”
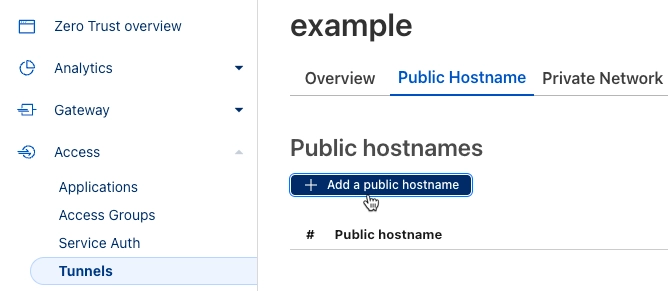
Location of Cloudflare Tunnels Add Hostname
To create a new tunnel route, enter a subdomain, such as “test,” and select your domain from the dropdown menu.
Leave the path section blank and select “HTTPS” as the service type.
In the URL section, enter the IP address of your Kasm instance.
Click on the “Additional Application Settings” tab.
Enable “No TLS Verify” and “HTTP2 Connection.”
Save the hostname.
Testing the Connection
To test the connection, you can either enter the URL into your search bar or click on the created route and then the external link. Your Kasm Workspaces instance is now accessible via your domain using Cloudflare Tunnels.
Warning
If you are using the RDP local client workspace option, make sure the Restrict RDP Client IP Address setting is disabled in Infrastructure / Zones. If it isn’t may not be able to connect, as the IP stored with the request will differ due to the connection being over the tunnel. If this is the case it will be reported in the Error Logs with a message such as “Invalid Request. Wrong client IP.”
Conclusion
By following the steps outlined in this guide, you can easily configure your Kasm Workspaces with Cloudflare Tunnels and your own SSL certificates for your domain. This allows you to provide secure and convenient access to your Kasm Workspaces instance through your own domain name, with the added benefits of Cloudflare’s CDN and DDoS protection.