Okta SAML Setup
Follow the steps in the Okta application setup
When asked for the SAML Settings.
Go To Kasm’s Saml configuration
Select Create New Configuration
Fill out the form:
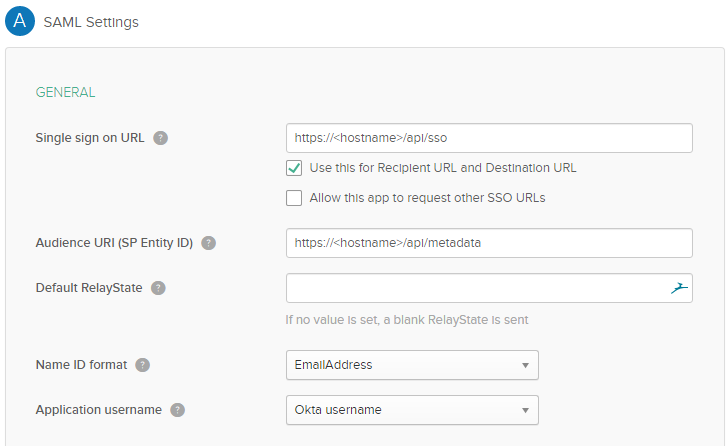
Copy Entity ID from the configurations page in the “Audience URI (SP Entity ID)” field
Copy the Single Sign on Service from the configurations page to the Single sign on URL field
Copy Relay State to the default Relay State
Change Name ID format to EmailAddress
Optionally advanced settings can be set here and the Single Logout Service could be configured
Kasm SAML currently requires attributes to be returned in the SAML response unless security option wantAttributeStatement is false
Enter a user name attribute on the optional attributes section
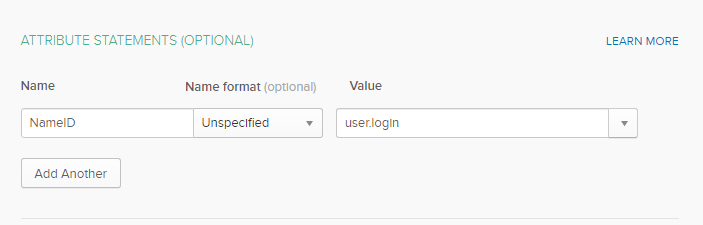
Under Group Attribute Statements
If the users are to be automatically added to a group then this can be set to match the Service Provider Group Member Attribute field. It will match the name of the groups passed with the names of the group saml name in the group configuration
Select next and add an internal app
Once created the Sign On page will say “View Setup Instructions”
In this form copy the field into the Kasm Saml Configuration
Copy the Single Sign-On URL to the Identity Provider Single Sign On URL
Copy the Identity Provider Issuer to the Identity Provider Entity ID
Copy the x.509 Certificate to the Identity Provider x.509 Certificate. This may need to have the begin and end certificate lines removed
Then in Okta assign a user to the application
In Kasm Select the test SSO button at the bottom of the configuration form
If the connection works properly go to Settings in the Admin navigation bar
Select enable_saml from the settings and change it to true
Users will now be automatically routed to the Okta portal on first connection to the Kasm. Administrators can still sign in through https://hostname/#/staticlogin as normal