Custom Chrome Extensions
Administrators may need to force install custom chrome extensions automatically when launching a new instance of a workspace. This guide will cover how to achieve this with File Mapping.
Video Tutorial
This video will walk you through installing a custom unsigned chrome extension on your workspace.
Installing Custom Chrome Extensions on your Workspace
1. Zip your extension’s source code directory. Make sure you zip the directory and not the source files.
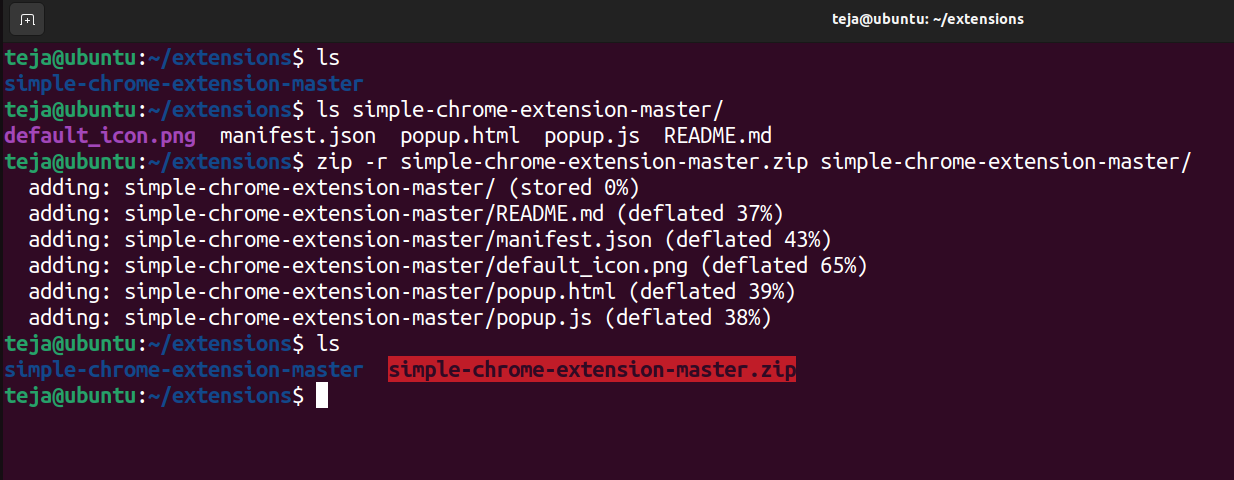
Zip source code files with zip command
2. In your Kasm dashboard, go to “Admin” -> “Workspaces” -> “Edit” -> “File Mapping” -> “Add File Mapping”
Set the type to “File Upload” and give it an appropriate name and description. Set the “Destination Path” to something like /tmp/extension/your-extension.zip
Set both Writable and Executable to Disabled and save the changes.
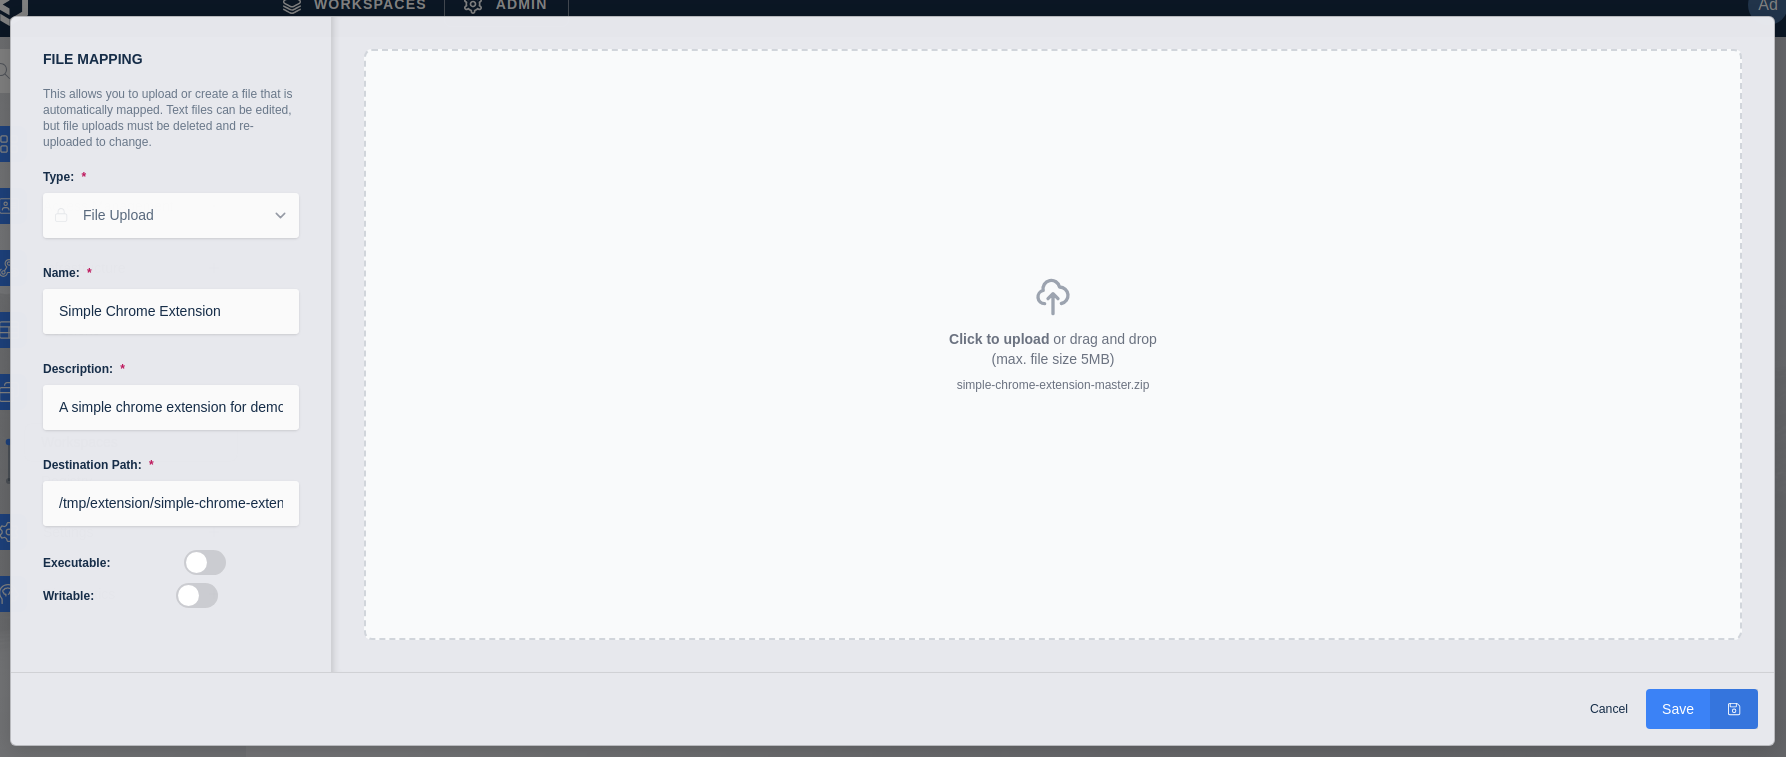
Workspace-level file mapping settings
Note
File Mapping can be set at both the workspace level and at the group level.
3. In your Workspace’s Docker Run Config Override, use the following config (make sure to replace it with your extension’s name and path):
{
  "hostname": "kasm",
  "environment": {
    "APP_ARGS": "--load-extension=/tmp/extension/your-extension"
  }
}

Docker run config override
4. In your Workspace’s Docker Exec Config, use the following config (make sure to replace it with your extension’s name and path):
{
  "first_launch": {
    "user": "root",
    "cmd": "bash -c 'unzip /tmp/extension/simple-chrome-extension-master.zip -d /tmp/extension/'"
  }
}
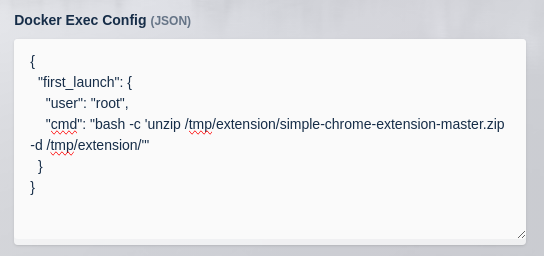
Docker exec config
Your workspace will now have the custom extension loaded to Google Chrome.
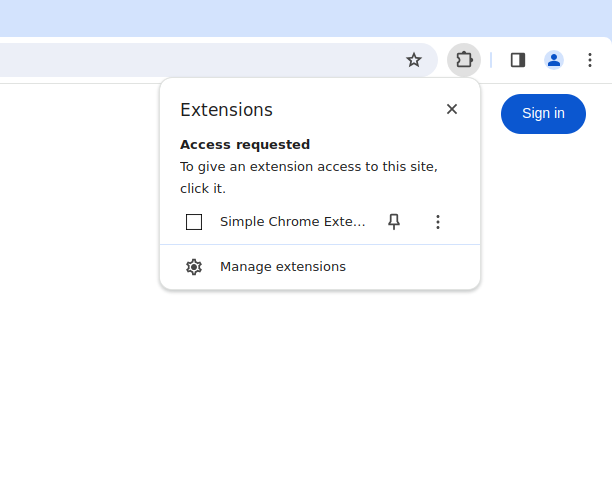
Custom chrome extension in action