GPU Acceleration
Kasm Workspaces supports passing GPUs through to container sessions. This how-to guide will walk through deploying an AWS VM with a GPU, installing Kasm Workspaces, and then building the Kasm open-source machine learning desktop https://github.com/kasmtech/workspaces-machine-learning.
Launch AWS EC2 Instance
In the AWS Console, EC2 Dashboard, Click the Launch Instance button. In the first step, search for ‘Deep learning’ and select the Ubuntu 18.04LTS version of the Deep Learning AMI.
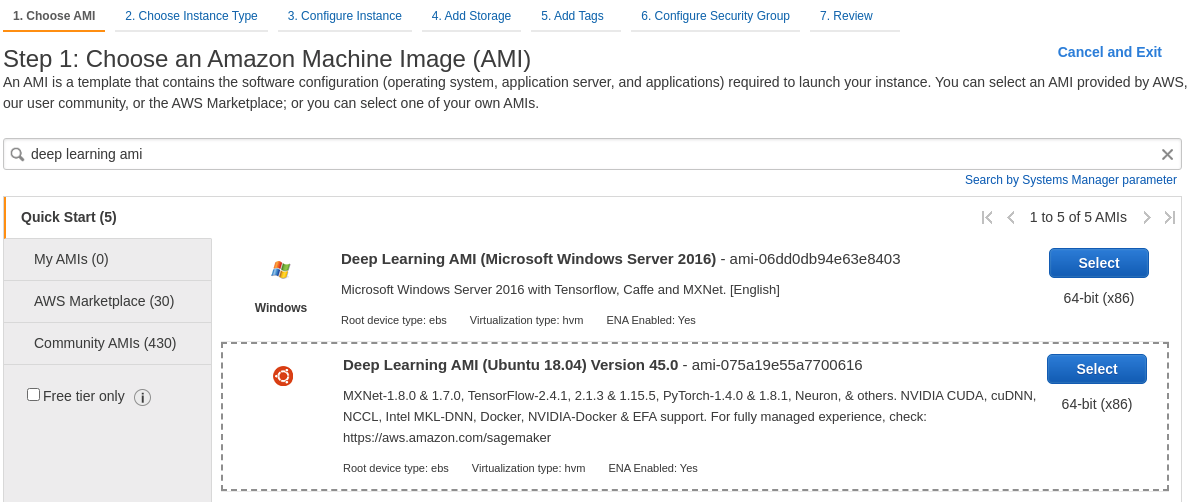
AMI Selection
Select an instance type with a GPU, for example, g4dn.xlarge.
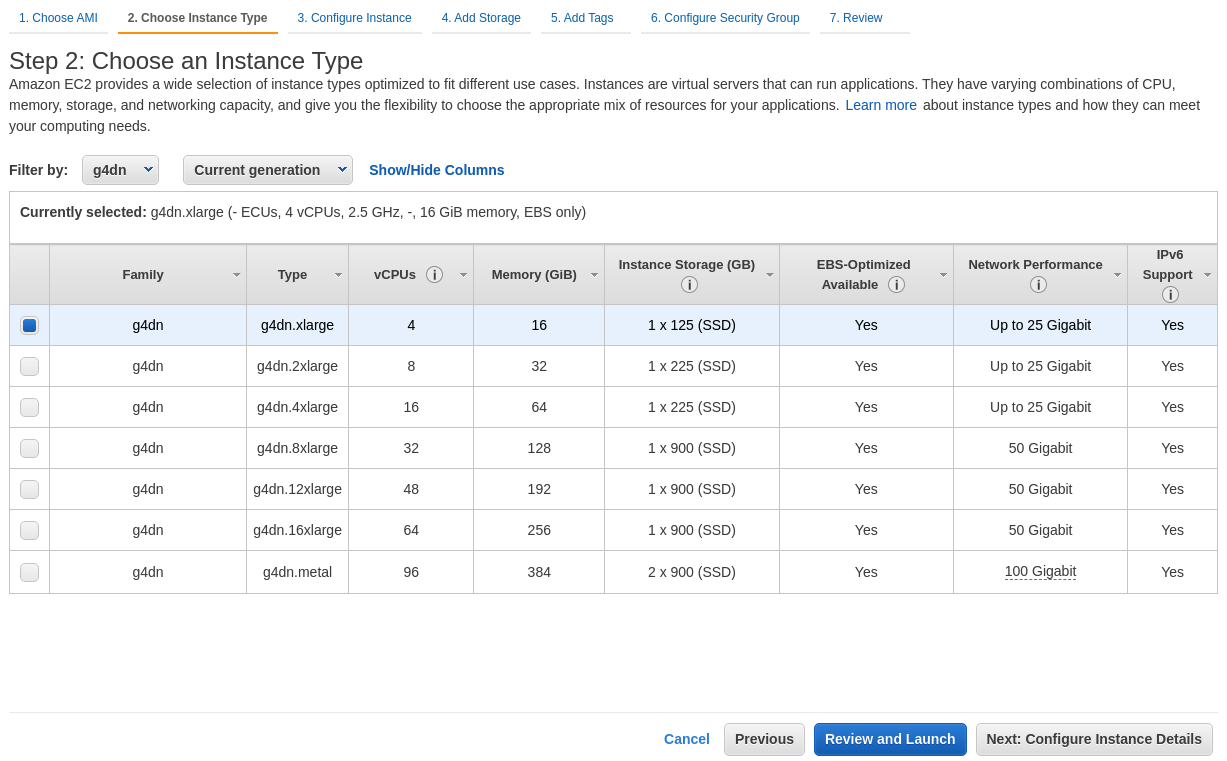
Instance Type Selection
Configure at least 150GB of storage on the primary volume.
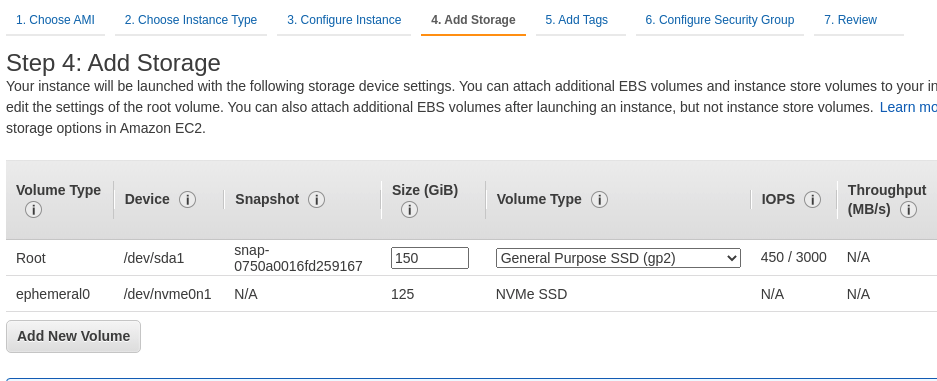
Volume Configuration
Ensure that you can access the VM via SSH and HTTPS.
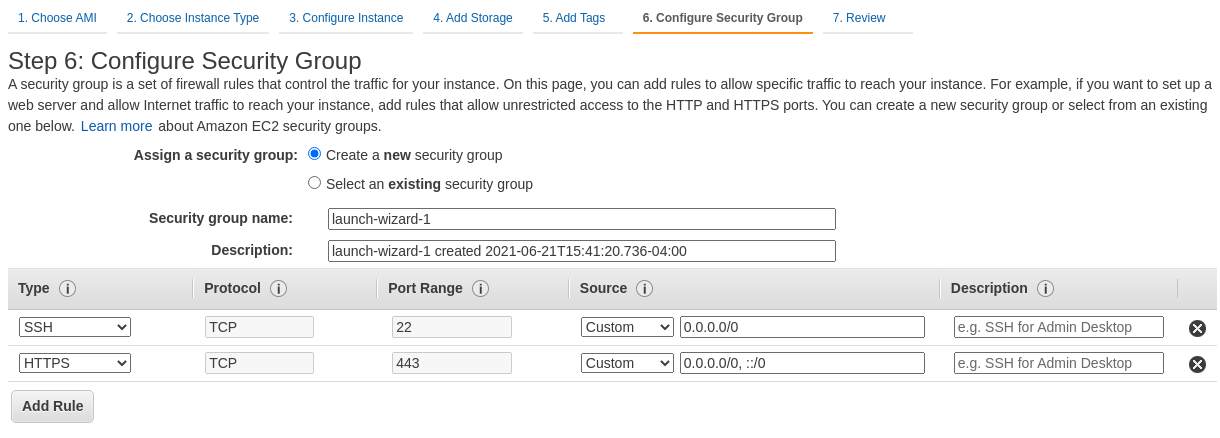
Security Group Configurations
Finally, launch the VM.
Installing Kasm Workspaces
Find the link to the latest version of Kasm on the downloads page. Then use wget to download the tar file.
wget https://kasm-static-content.s3.amazonaws.com/kasm_release_x.y.z.xxxxx.tar.gz
Next, follow the documentation for installing and configuring Kasm Workspaces.
After installing Workspaces and logging in as an administrator, navigate to the Agents view under the Admin section. Here you will see a list of agents in the cluster, since this is a single server installation, there will only be one agent listed. Confirm that the agent shows 1 or more GPUs. If the agent lists 0 GPUs, see the troubleshooting section.
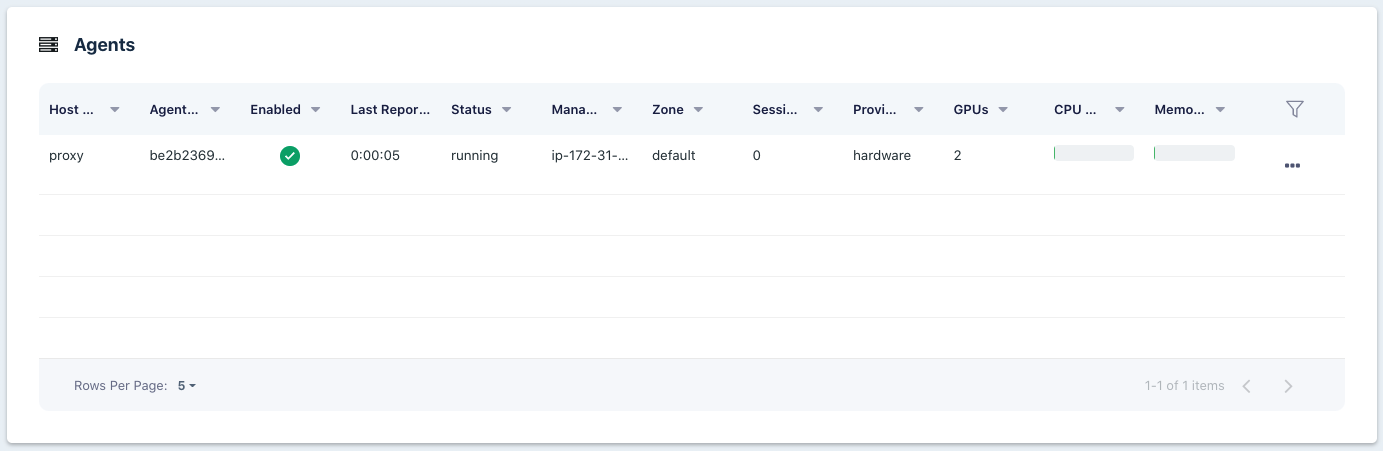
Agents Listing
Building ML Desktop
Kasm maintains an open source project, Workspaces ML Desktop, a desktop environment intended for developers working on machine learning. This image contains common development tools and frameworks for ML development, but can be used in general for development.
Before building the image, you must disable automatic image pruning. Navigate to the Admin pane in Workspaces and click Agents. Click the three dot icon and select edit on the agent. Change the automatic prune setting from the default of Normal to Off and click Submit.
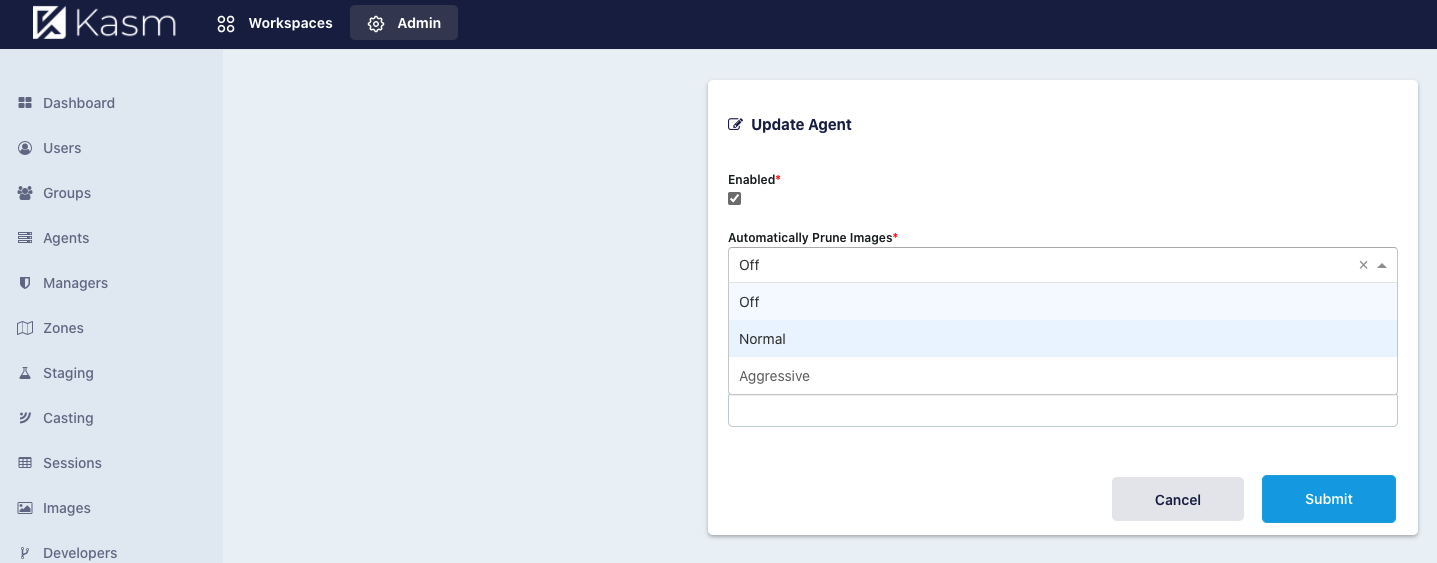
Disable Automatic Pruning
Note
By default, the agent automatically removes images on the host that do not have a tag. This is desired because Workspaces automatically downloads updates to images and when they are updated the old image is untagged. Unfortunately, this interferes when building images locally as intermediate layers produce untagged images during the build process.
The ML Desktop can now be downloaded and built.
git clone https://github.com/kasmtech/workspaces-machine-learning.git
cd workspaces-machine-learning
sudo docker build -t kasmweb/desktop-ml:latest .
Note
While building locally is fine for testing, the build is better done in a CI pipeline and pushed to a central docker registry. Workspaces can be configured to automatically pull image updates from a central Docker registry.
The final step is to define a Workspaces Image that utilizes this new Docker image. Log into Kasm Workspaces as an administrator and navigate to Images in the Admin panel. Click the create button. Fill out the information as shown in the following screenshot. Adjust the cores, memory, and GPU settings as desired. Scroll down and enter the categories Development and Desktop in the Categories field, this ensures the image shows up in those categories on the Workspaces home page.
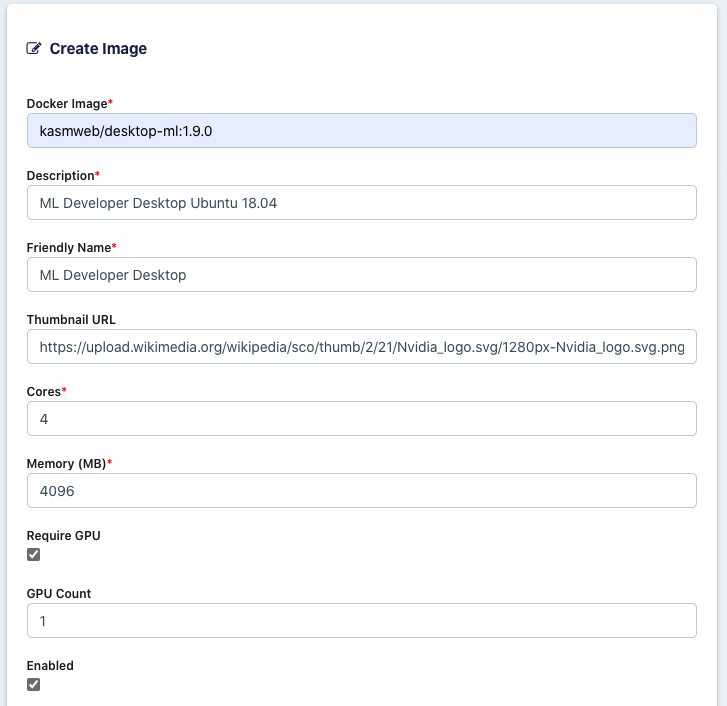
Create new Workspaces Image
There are many options and settings that can be applied, such as persistent profiles or two-factor authentication. See our various how-to and configuration guides in this documentation for more details.
Create Session
Navigate to the main Workspaces panel as a normal user, switch to the Desktop category, find the ML desktop, click the image icon and click Launch Session to create an instance of this desktop.
Create ML Desktop session