Login to the Workspaces web interface and click on “Workspaces -> Workspaces” from the Admin tab:
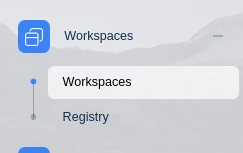
Workspaces Location Admin
Now select the arrow button next to the Workspace to be modified to use this network and select “Clone”:
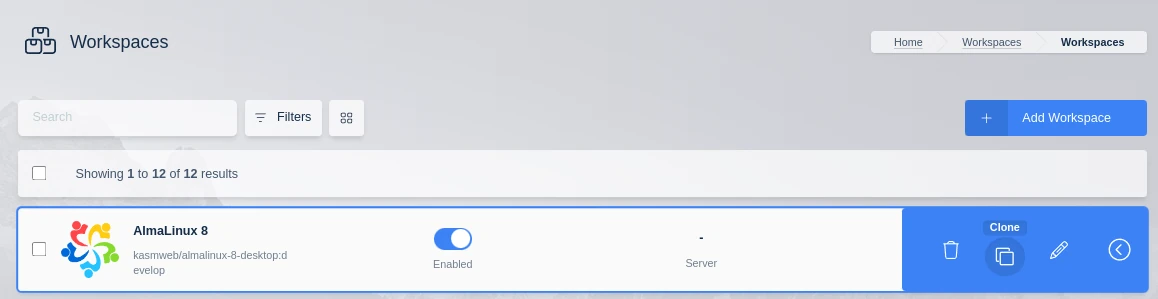
Cloning a Workspace
This example will be modifying a AlmaLinux 8 desktop Workspace.
First rename the Friendly Name to append that this is a special VPN enabled container AlmaLinux 8 - VPN.
For some configurations it may be necessary to populate the DNS server addresses of the container. This will be indicated by DNS resolution failure inside the container.
This can be done by modifying the Docker Run Config Override (JSON) and adding DNS server entries (This workspace already had the "hostname": "kasm" populated in this field):
{
  "dns": [
    "8.8.8.8",
    "8.8.4.4"
  ]
}
Here the public Google DNS servers are used, but these can be any DNS servers.
Next change the Docker Exec Config (JSON) to:
{
  "first_launch":{
    "user":"root",
    "privileged":true,
    "cmd":"bash -c 'ip route delete default && ip route add default via 172.20.0.2'"
  }
}
Then select “Restrict Image to Docker Network” and choose the network created in the previous step (vpn-1).
Once finished the Workspace settings should look something like this:
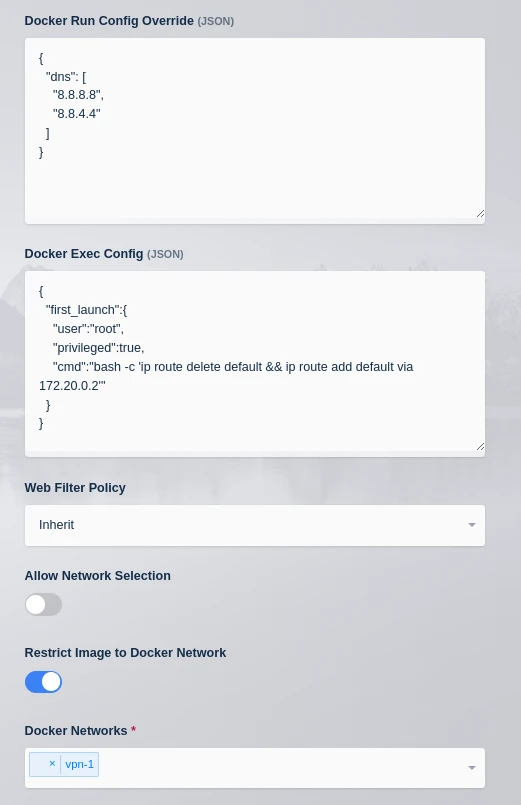
Workspace Network Settings
Click on Save and hop back over to the Workspaces tab. The new AlmaLinux 8 - VPN workspace should be present:

User Dashboard Launch Button
OK the Workspace is ready to deploy, the same process can be followed for any of the Kasm Workspaces to pipe their network traffic through the VPN container.